
The Hosts file is a small file that every Mac computer has, in which are stored the hostnames of different IP addresses. Modifying the Hosts file can allow you to troubleshoot certain connection issues, block certain sites, set up your own web-server, and more.
Hosts File on Mac
Here, we will show you two ways you can find, access, and edit the Hosts File on your Mac.
Method 1: Using Finder
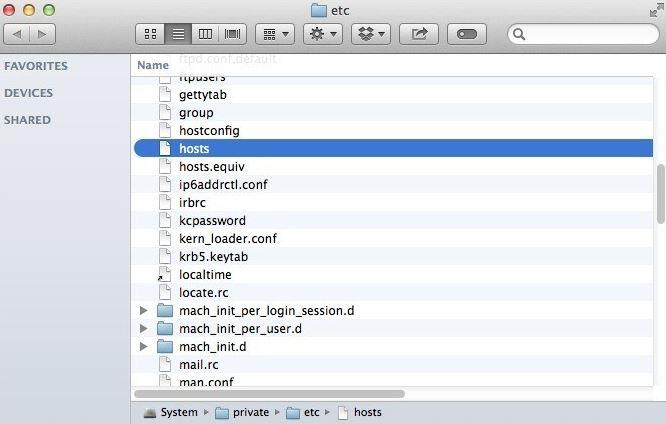
- Open Finder and click on Go.
- Next, select the Go to Folder option and type in this file path: /private/etc/hosts.
- Select Go or hit Enter to initiate the search.
- In the folder that opens, you will see the Hosts file but won’t be able to modify it because the Etc folder is protected against modification by default.
- To override the protection, simply copy the Hosts file to another unprotected location (such as your Desktop).
- Now, open the copied Hosts file (any text-editing software should be able to open it).
- In the Hosts file, you will see the # symbol before some of the entries, which indicates that those entries are comments/descriptions. The lines that start with # will be ignored by the system. Below those lines, you should see two IP addresses – they represent the default IPs for localhost and broadcast host respectively. Below them, some applications might have added their own IPs. Sometimes, when there is a malware app on the computer, it may add some IP addresses to the Hosts file in order to automatically redirect your browsing when you open Safari (or another browser).
- In the Hosts file, you will see the # symbol before some of the entries, which indicates that those entries are comments/descriptions. The lines that start with # will be ignored by the system. Below those lines, you should see two IP addresses – they represent the default IPs for localhost and broadcast host respectively. Below them, some applications might have added their own IPs. Sometimes, when there is a malware app on the computer, it may add some IP addresses to the Hosts file in order to automatically redirect your browsing when you open Safari (or another browser).
- Do whatever changes you need to and then save the file so that the changes stay.

- Next, go back to the Etc folder and copy the modified Hosts file to it. The system will require you to confirm the action and then ask you if you want to replace the original Hosts file with the new one. Choose the replace option and provide your Administrator password if asked to.


Method 2: Using Terminal
- From the keyboard, press Command and Space and then type in Terminal.
- Now, press Enter to open Terminal.
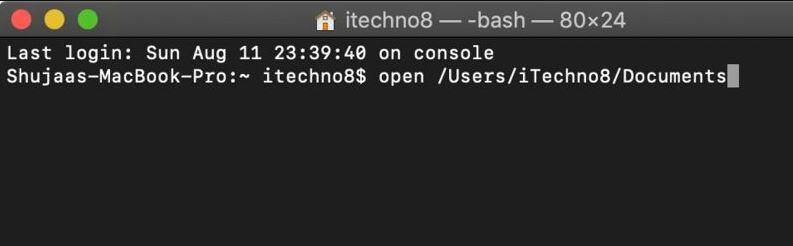
- Next, type the following command in Terminal: sudo cp /private/etc/hosts ~/Documents/hosts-backup and press Enter to execute it. This command backs up the Hosts file in case you need to recover it. If you want to restore the original Hosts file from the backup, type the sudo cp ~/Documents/hosts-backup /private/etc/hosts command in Terminal.
- After you back up the Hosts file, type the sudo nano /private/etc/hosts command in Terminal. This will open the Hosts file but you will first need to provide your Administrator password. Type in the password (note that when filling in the password no characters would show be displayed, but this doesn’t mean you aren’t typing anything).
- Once you type in your password, press Enter to finally open the Hosts file with Admin privileges. Note that the Hosts file would now be open from within the Nano app and you will have to use your keyboard’s arrow keys to navigate the file. Add whatever new data you need to but leave the already existing information unchanged or this might cause system issues.
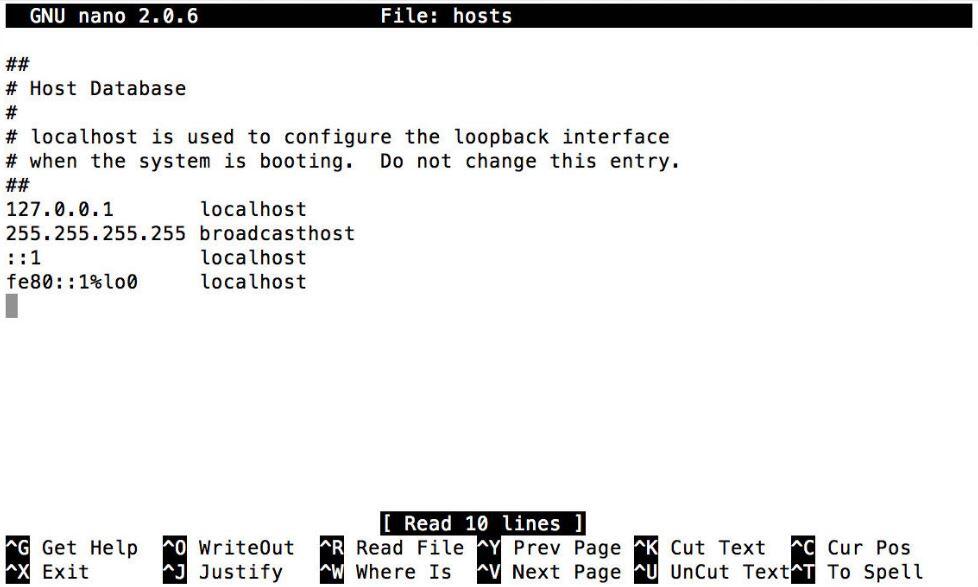
- Lastly, once you’ve finished entering your data, press the Control and O keys from the keyboard and then hit Enter to save the newly made changes.


Flushing the DNS cache
In some cases, the changes made to the Hosts file may not come into effect immediately after they are made. In such instances, you may need to flush your DNS cache for that to happen. Here’s how you can do that:
- Open Terminal as explained above.
- Type in the $ sudo killall -HUP mDNSResponder command and hit Enter from your keyboard.
- Next, type in the following command in Terminal: $ sudo killall -HUP mDNSResponder;say DNS cache has been flushed.
- Hit Enter again to execute the command. Restart your Mac and the Hosts file changes should come into effect.


Leave a Comment X