Do you know that if you want to record your voice or some simple sounds, you can do that on your Mac without the need of installing any additional or specific apps? Yes, Mac OS has some great build-in applications, which are ready to use and, in the next lines, we are going to show you how to make the best of them.
How to Record Voice on Mac? (Method 1)
QuickTime Player is an application, which is commonly used for playing video content, but aside from that, it could also serve you as a sounds recording tool. The app can capture your voice via your build-in or external microphone and can create m4a file recordings with ease. This is how it can be done:
NB: Make sure your build-in microphone is working or you have connected an external mic to your Mac before you proceed to the instructions below.
- Find the QuickTime Player in the Applications folder and launch it.
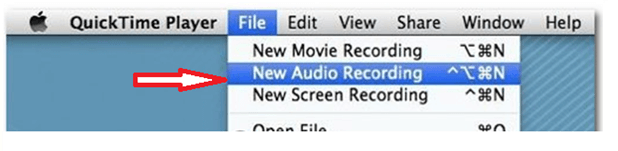
- From the top menu, select File and then New Audio Recording from the falling tab.
- An Audio Recording window will open, where you can see one round red button. To start recording, click the red (record) button and it will input audio from your microphone.
- When you are finished with your recording, simply click the same button to stop it.
- If you want to save the recording, click again to the File Menu and select the Save option.
- A window will open, where you will have to write the name of your recording and the location, where you want it to be saved.
- The last step is to click the Save button and you will have your new audio file recorded.
The good thing about QuickTime is that it automatically saves the audio into a high-quality compressed m4a file format. This file type is widely recognized. This means that you can play it right away in iTunes, Windows PCs, iPhones, or Android devices without the need of conversion. There is also no limit of the length of your recording. As long as your Mac storage allows it, you should not be concerned about how much audio you can record.
How to Record Voice on Mac? (Method 2)
Another great sound recording tool in Mac OS is Garageband. This build-in application can be used for a bit more professional recordings, compared to QuickTime Player, since it has more options on it. Garageband can save files in variety of formats, but if you want to record your own voice, this is what you need to do:
NB: Ensure that your build-in microphone is working or your external mic is well connected to your Mac.
- Launch Garageband form the Applications folder.
- From the main menu, select “Preferences”.
- Then, go to the Audio/MIDI tab, and from the pull-down menu on Audio Input select “Line In” if you have an external mic or “Line In” if you use an build-in microphone.
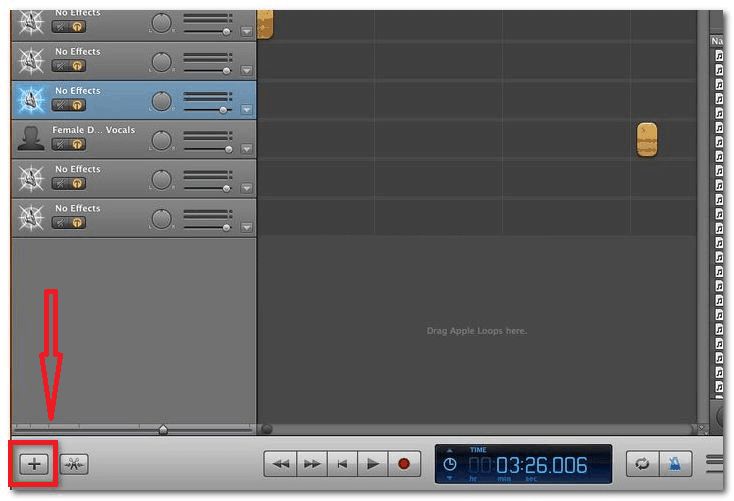
- Then, go to the Add Track button, which is located at the bottom left corner of the window. It looks like a “+”.
- Next, click the Real Instrument track option, and then select “Create”.
- A slider is available at the bottom, which can help you adjust the Recording Level, as per your liking.
- To ensure that your sound is being captured, try speaking into the microphone. If the levels move, then everything is okay.
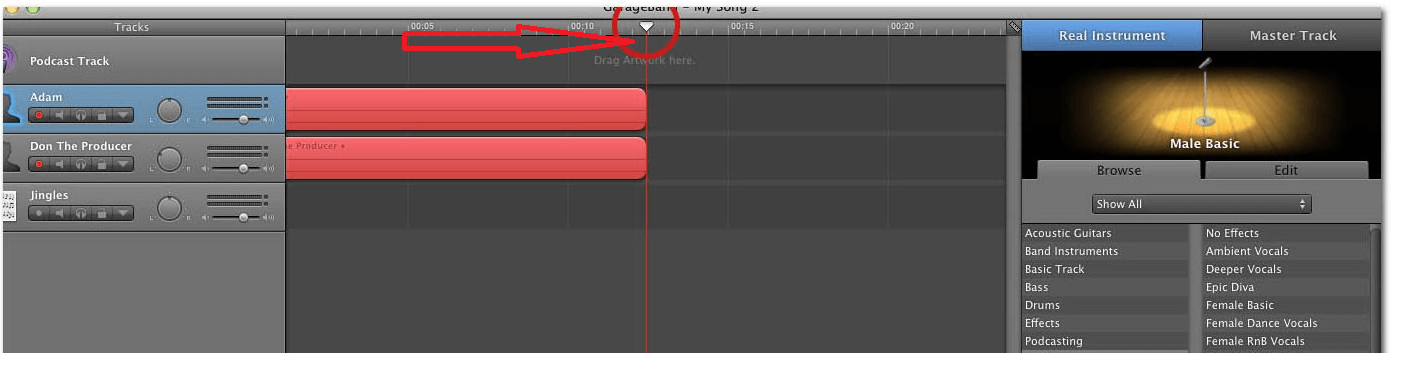
- The next step is to place the white playhead at the timeline where you want your recording to begin.
- Then, to begin recording, start the red Record Button at the bottom.
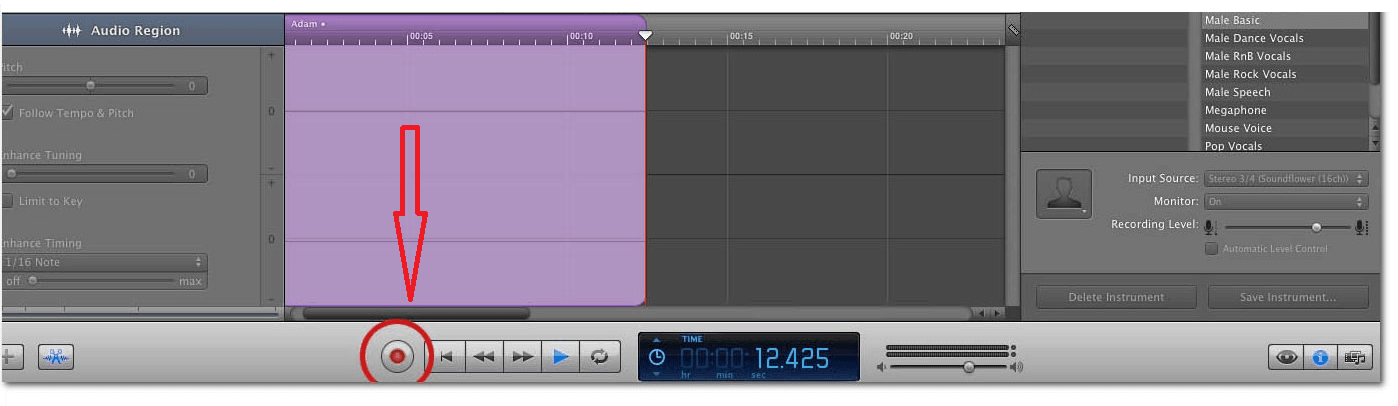
- To stop the recording, click at the same Record Button that you clicked for the start.
- The recording can be saved when you click the File menu at the top and select “Save As”.
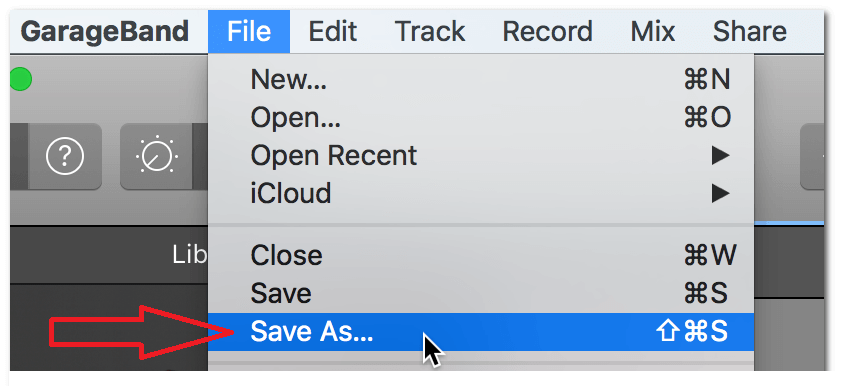
- Give a name to your file, a saving location and preferred file format.
- When you are done, select “Save” and you will have your recording ready to play.
What do you think about these two methods? Which one you prefer to record voice on your Mac? Please, share with us in the comments.

Leave a Comment