
The below article aims to show users how to make hidden files on Mac computers visible. The guide included here is applicable for all the latest macOS versions.
This is a very useful function, and it’s not exclusive to Mac operating systems. Most other operating systems have similar protection mechanisms. However, sometimes we find ourselves having to access certain files that our computer deems necessary to keep hidden. For instance, you may be in need of freeing up some storage space by deleting certain files. Sometimes you might also have to delete preference files or access the log files of some program in order to resolve specific issues.
Another reason for you to want to reveal hidden files may have to do with a simple system cleanup of caches, junk and/or temporary files, etc. Whatever your reasons are, though, we have created a guide to help you achieve your objective in just a few simple steps. As you will find below, we’ve included several methods in which you can view the hidden files on your Mac computer. But we would love to hear in the comments which one you preferred and whether it was able to do the job for you. So please don’t hesitate to drop us a line, also if you have any questions.
How to View Hidden Files on Mac
As you may know, Mac computers have a number of files that the system itself keeps hidden from users. This is done with the intention of protecting these files from accidentally (or intentionally) being deleted and thus messing up the system in one way or another.
Option 1:
- Download and install the free Funter application on your computer.
- Once you’ve done that, launch Funter and click on the switch next to Show Hidden Files.

- Open Finder in order to view your formerly hidden files.

Option 2:
- Open the Finder app and open a folder that may have hidden files stored in it.

- Next, on your keyboard, press the following key combination: Command + Shift + Period. On the keyboard the keys will look more like this: CMD + Shift + .
- This will reveal any hidden files in the respective folder. If you would like to hide the files again, simply press the same key combination again.

Option 3:
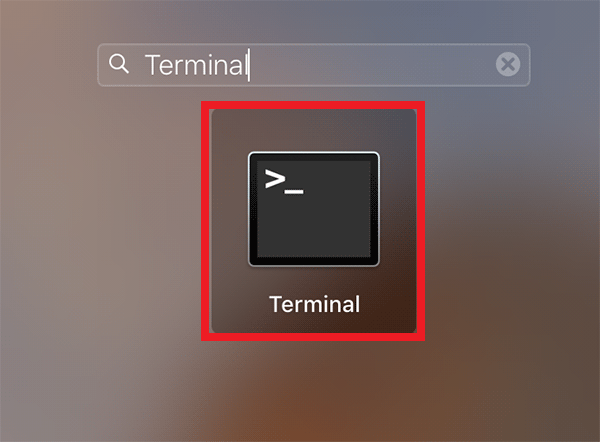
- From Launchpad, open an application called Terminal.
- Copy and paste this command into the window of the Terminal application: defaults write com.apple.finder AppleShowAllFiles -bool true
- Hit Enter and type in the following command, which will relaunch Finder: killall Finder
- Hit Enter Now you should be able to view all hidden files on your Mac.
- If you would like to hide those files again, simply repeat steps 1 through 4, but in step 2 use the following command instead: defaults write com.apple.finder AppleShowAllFiles -bool false


Leave a Comment X