In the past couple of days, lots of users have been reporting issues with something called Clearnview. What I’ve learned from my research into it is that this is a site that triggers security warnings from Norton and other popular antivirus programs.
This is because this is actually a browser-hijacking website, similar to Mergeconnection.co.in, Maxfirewall.co.in, that seeks to gain various permissions within your browser. And if it succeeds, it starts spamming you with pop-ups, ads, redirects, and notifications, some of which may appear similar to the legitimate malware warnings I just mentioned. Only, in this case, those notifications are fake and aim to get you to download some sketchy software or redirect you to a phishing page.
Clearnview may expose your browser to redirects, ads, and persistent unwanted components. Install SpyHunter Pro to scan for risks, remove related threats, and enable real-time protection.
*Source of claim SH can remove it. Trial w/Credit card; image is for illustration; full terms.
As you can see, it can be pretty confusing to have this browser hijacker attached to your browser, and the path to resolving this problem is often not a straightforward one. If you want to deal with this manually, will have to perform a number of actions to ensure that any control that Clearnview may have over your browser is gone.
The good news is that the guide below will help you through each step. Just know that there’s also the automatic option to use SpyHunter 5 – the professional removal tool linked on this page – which can make the entire process a lot quicker and simpler.
Clearnview Removal Steps
Depending on how the Clearnview site gained permissions in your browser, the difficulty of its removal may differ. In some cases, you may actually be able to get rid of it rather easily, by applying several quicker steps. This can save you time, so I recommend you do that first and only move on to the more advanced stuff below if the hijacker is still there.
- First, open your browser. Head over to the menu—that’s usually those three dots or lines in the top corner.
- From there, go to Extensions or Add-ons. Now, here’s where you need to be ruthless. Scroll through the list. See anything you don’t remember installing? Anything that seems sketchy or weird? Uninstall it. Right away.
- Hijackers like Clearnview love hiding in extensions because they can quietly mess with your browser settings without you noticing. So, clearing out any shady add-ons might solve the problem right there.
- Next, go into your browser’s Privacy and Security settings. Look for Site Settings or anything related to notifications and pop-ups. Hijackers often sneak in by getting you to “allow” notifications from their sites.
- If you spot any suspicious websites with notification permissions, revoke them. In fact, while you’re at it, check through the entire permissions list. Clean house.
Once you’ve done all that, restart your computer. Then, open your browser again and see if things are back to normal. Sometimes, that’s all it takes. But if Clearnview is still hanging around, don’t worry—we’re just getting started.
SUMMARY:
| Name | Clearnview |
| Type | Browser Hijacker |
| Detection Tool |
Some threats reinstall themselves if you don’t delete their core files. We recommend downloading SpyHunter to remove harmful programs for you. This may save you hours and ensure you don’t harm your system by deleting the wrong files. |
Before you go ahead and begin the advanced tutorial below, note that it’s recommended to have some base troubleshooting experience or you may some of the next steps confusing. Also, make sure you have at least an hour of spare time, because that’s how long this guide will likely take you.
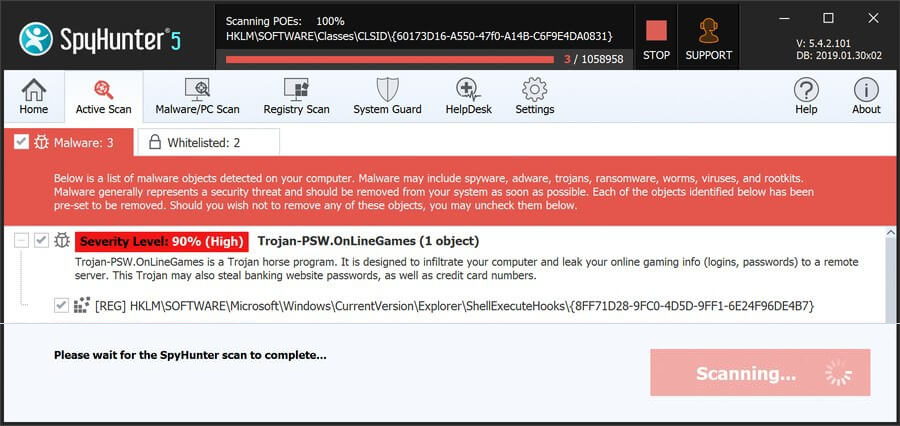
In case you are short on time or don’t feel confident about completing all the steps on your own, I suggest you try to delete the Clearnview hijacker with the help of SpyHunter 5 – a powerful anti-malware solution that is great against hijackers and should make quick work out of Clearnview.
How to Remove Clearnview From Your Browser
Aside from gaining various permissions in the browser, hijackers like Clearnview will often introduce a third-party policy that locks the browser’s settings and makes them unavailable to you. This means you won’t be able to reverse any unwanted changes made to the browser’s settings until the policy is removed.
Click the browser’s menu, look at its bottom, and if you can see a “Managed by your organization” message, it means there’s a rogue policy you need to get rid of.

Here’s how you fight back. Open your browser and type this into the address bar:
- For Chrome:
chrome://policy - For Edge:
edge://policy - For Brave:
brave://policy
You’ll see a list of active policies. Look at what’s shown in the Value column. Look for anything weird—especially random strings of letters or settings you don’t recognize. Copy those down into a text file. We’re going to need them.

Now, go back to the Extensions page. Turn on Developer Mode (there should be a toggle in the top corner). This will reveal the extension IDs. Spot any sketchy extensions? Copy their IDs too.
If the Extensions page is locked or blocked, don’t panic. You can still reach the extensions manually. For Chrome on Windows, navigate to:
C:\Users\[Your Username]\AppData\Local\Google\Chrome\User Data\Default\Extensions
Delete any suspicious folders in there. That’ll wipe out hidden or locked extensions.
Once you’ve done this, the Extensions page will be unlocked.
In case you are using a different browser than Google Chrome, here are the Extensions folder locations for some other popular browsers:

After this is done, the Extensions page should once again be accessible.
Video walkthrough for this step:
Delete Clearnview Policies
Now it’s time to deal with those sneaky Clearnview policies. You’ll need to go into the Registry Editor to do that. This is where things get a bit trickier, but follow along, and you’ll be fine.
Click the Start Menu, type in regedit, and open the Registry Editor. You’ll want to run it as an administrator. Once inside, hit Ctrl + F and search for the weird policy values or extension IDs you saved earlier.
Found them? Delete them. But be careful—don’t delete stuff at random. The Registry is like your system’s brain, and one wrong move can cause problems. So double-check what you’re deleting. Also, remember to always run one extra search for each entry to ensure there’s nothing left linked to it.
If you can’t delete something, right-click the entry, select Permissions, then click Advanced. Go to Change and set the ownership to Everyone.

Click OK, then check the two Replace options, and Apply the changes.

If you follow these steps, those stubborn entries will become deletable again and you’ll be able to get rid of them.
Video walkthrough for this step:
Alternative Ways to Get Rid of Clearnview Browser Policies
Cleaning up the Registry isn’t the only way to deal with rogue Clearnview policies. If, for some reason, the previous step didn’t rid you of the “Managed by your organization” message in the browser, here’s what els you can try:
First, try the Group Policy Editor. Press Win + R, type gpedit.msc, and hit Enter. Go to Administrative Templates under Computer Configuration.
Right-click and choose Add/Remove Templates, then delete anything in there. Most people don’t even use this feature, so it’s pretty safe.

If you’re using Chrome, the Chrome Policy Remover tool is a lifesaver. Download it, run it as an admin, and let it do its thing. Your antivirus might complain because it’s from an unknown publisher, but don’t worry—it’s safe. This tool automates the cleanup, so you don’t have to dig through policies manually.
Video walkthrough for this step:
Manual Group Policy Removal
Automatic Group Policy Removal
Remove Clearnview From Chrome, Opera GX, Edge, and other Browsers
Okay, now that we’ve cleaned out the bad stuff, let’s fix your browser settings. They should now be accessible, so you must check the most important sections and reverse any unwanted changes made there by the Clearnview hijacker.
First, double-check the Extensions/Add-ons page to make sure everything suspicious is gone.
Then, head back to Privacy and Security and clear your browsing data. That means cookies, cache, and site data—all of it except passwords. I recommend choosing the All Time range setting just to be sure nothing unwanted is left on your PC.

Next, go to Site Settings again and check all of the permission categories. If you see sync.clearnview.com in any of them, block it or remove it. Do the same with any other unfamiliar or suspicious URLs.

Next, check your search engine, homepage, and new-tab page. If Clearnview changed any of them, put them back to what you want. Also go into Manage Search Engines and delete any search tools you don’t recognize.

Once you’re done, your browser should finally feel normal again.
Video walkthrough for this step:
Chrome
Microsoft Edge
Mozilla Firefox
When Nothing Else Works
Sometimes, even after all that work, Clearnview won’t let go. That’s because hijackers can hide behind other rogue programs. In this case, you need backup.
Download a solid anti-malware tool like SpyHunter 5. Install it, run a full scan, and let it find anything hiding in the shadows. Tools like this are designed to catch the stuff you can’t see.
Staying Safe Going Forward
Let’s make sure this never happens again. First, stop downloading random programs from sketchy websites. Also, don’t click on suspicious links or pop-ups—especially those fake captcha prompts. Trust me, they’re traps.
Do regular check-ins on your browser settings and extensions. A quick review every now and then can catch problems early. Oh, and install a reliable antivirus program that offers real-time protection. Many modern antiviruses are built to catch browser hijackers like Clearnview.
Knowledge is power. Stay updated on online scams and new threats. The more you know, the safer you’ll be.
Final Thoughts
Getting rid of Clearnview isn’t always easy, but it’s possible. Start with the basics, and if that doesn’t work, dig deeper. Tools like the Registry Editor, Group Policy Editor, and anti-malware programs are your best friends in this fight.
But the best protection? Staying alert and cautious. Be mindful of what you click, download, and install. A little vigilance goes a long way.
By following these steps, you’re not just removing Clearnview—you’re taking back control of your browser and your online safety. Stay sharp out there!
Leave a Reply