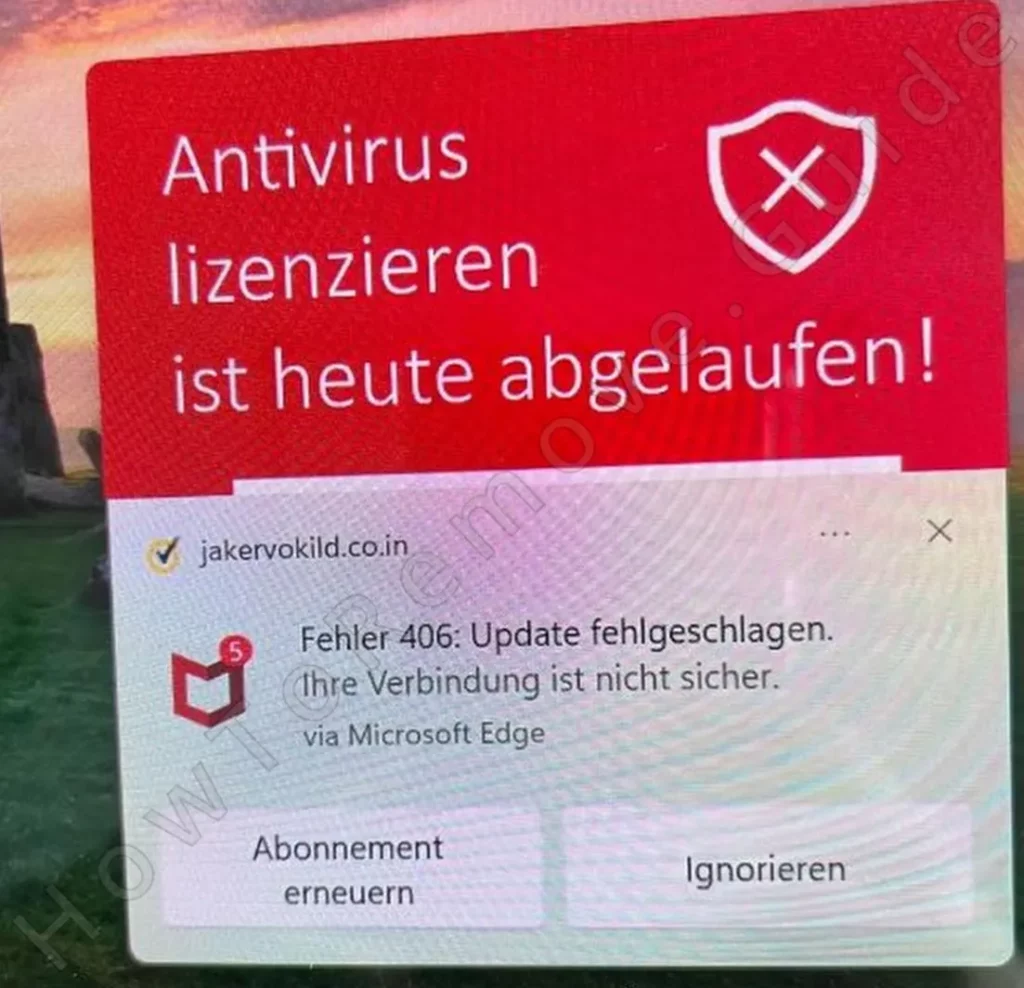
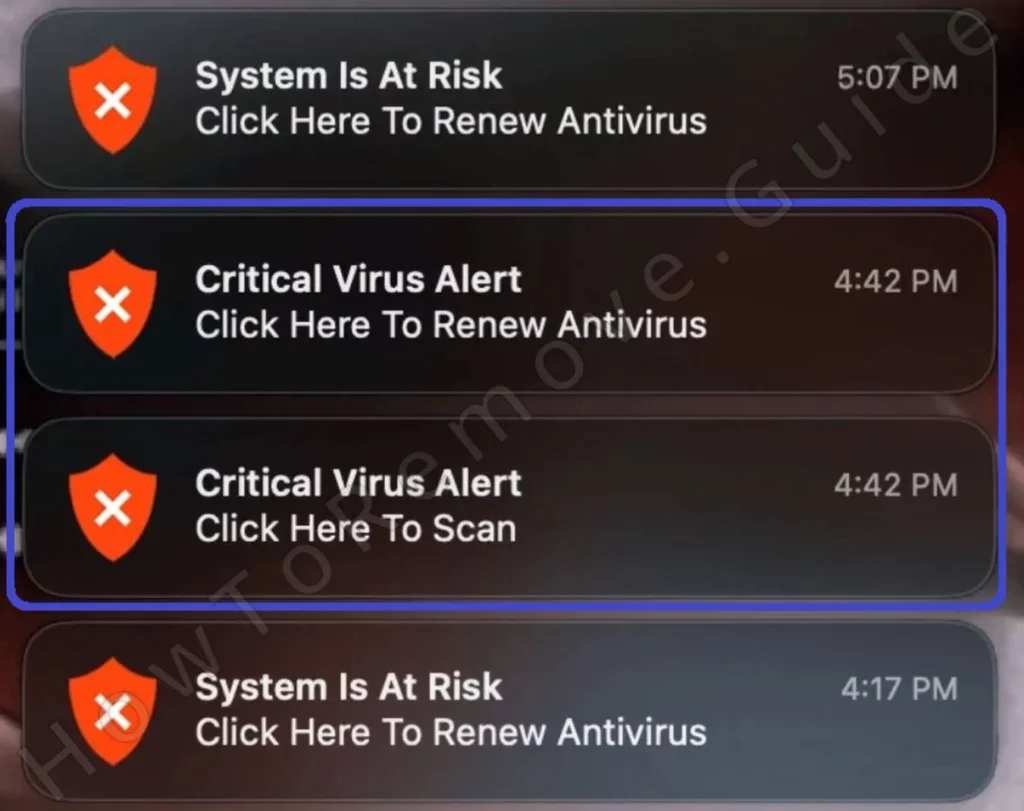
Everybody knows that Macs rarely have viruses, but a “Critical Virus Alert” notification on your Apple machine might make you think otherwise. The notification is similar to the “mac will damage your computer” or the “Psoriasis will damage your computer” warnings and if you are currently experiencing it on your Mac, we recommend that you stay on this page.
This alert can appear as a small pop-up in the top-right that looks like a system notification or as a large banner in the bottom-right that looks like a warning from an antivirus, such as McAfee (even if you don’t have that antivirus installed on your Mac!). Either way, it’s the same thing – a fake warning designed to get you to click on it and possibly scam you.


In other words, if you are getting the “Critical Virus Alert” message on your Mac, you’re probably the target of scammers and not actual hackers who have attacked you with malware. That being said, it’s still critical to find out the source of the scam notifications and get rid of it or else they won’t stop.
How to Get Rid of the Critical Virus Alert
There are several potential reasons why you might be getting the Critical Virus Alert on your Mac. In all cases, we are talking about some type of browser hijacker or, possibly, an adware app. However, the specific way the culprit is able to generate these pop-ups can be different, which also means you’ll need to adopt a different approach to deal with it. Our recommendation is to perform all removal steps to ensure there’s no trace of the hijacker left on your Mac. Here’s a quick rundown of what you must do:
- Go to the site settings in all your browsers and block sketchy URLs that have notifications, pop-ups, and redirect permissions.
- Uninstall sketchy browser extensions from all browsers.
- Delete any newly installed apps that don’t seem trustworthy.
- Clear the following three folders from rogue files:
- /Library/LaunchDaemons
- ~/Library/LaunchAgents
- /Library/LaunchAgents
- Remove any rogue profiles currently available in System Settings > Users & Groups.
Video walkthrough for this step:
These are the basic steps you need to complete to ensure the notifications stop bothering you. If you need a more detailed explanation of each one, please, refer to the detailed guide below.
SUMMARY:
| Name | Critical Virus Alert |
| Type | Browser Hijacker |
| Detection Tool |
Critical Virus Alert Pop-up Removal for Chrome and Safari
In most cases, the Critical Virus Alert Pop-up is triggered by a rogue hijacker website that has gained certain permissions in one of your browsers. Dealing with this is pretty easy, so we’ll start here:
Since it’s not always clear which browser has been hijacked, we recommend checking all browsers that are installed on your Mac.
- Let’s start with Safari – open it, click the Safari Menu from the menu bar, and click on Settings/Preferences.
- Open the Websites tab and click Notifications (left panel).
- Check for sketchy sites in the right panel that are set to “Allow” and if you see any, change their setting to “Deny”. One rogue URL that’s often reported as responsible for the Critical Virus Alert pop-ups is jakervolkild.co.in, so if you see it, be sure to block (deny) it.
- Also, check the Pop-up Windows section in the left panel. Again, see if there are suspicious sites allowed to show you popups and block them.
- Next, check the Extensions tab, see if there are any add-ons there that look unreliable, and delete them.
If you also have Google Chrome or another Chromium-based browser like Brave or Opera GX, you should check its site settings too:
- Start the browser, select its main menu, and go to Settings.
- Open the Privacy and Security section and find and click on Site Settings.
- Check the Notifications permissions first and see if there are any rogue or unfamiliar URLs that are allowed to send you notifications. If you see anything you don’t trust, click the three dots next to it, and click Block. Again, jakervolkild.co.in might be shown here.
- Go back to Site Permissions, now open Pop-ups and Redirects, and do the same thing there – block any addresses that you don’t recognize or trust.
- Lastly, click the Extensions tab in the browser’s settings and see if there are any sketchy-looking extensions there. Anything you don’t recognize or need must be deleted.
This will often be enough to put an end to the Critical Virus Alert notifications, but if they persist and continue to bother you, you should try the next steps.
Video walkthrough for this step:
Safari
Chrome
Mozilla Firefox
Remove Critical Virus Alert Mac Apps
Though less often, sometimes an actual app installed on the Mac could be the culprit responsible for Critical Virus Alert pop-ups or other similar types of scam notifications. If you’ve already gone through the browser cleanup steps and the notifications continue to show up, it’s worth checking your installed apps and deleting anything that might be responsible for them:
- Click the Go menu from the Menu Bar, click Applications, and look through the apps that are on your Mac.
- It’s a good idea to make the apps appear as a list, and then sort that list by installation date to see what’s been added most recently.
- Look for any questionable apps that you don’t fully trust. Mainly focus on third-party applications that come from outside the Mac App Store, as those are more likely to have additional functions that don’t serve the user’s best interests.
- If you find an app you think might be responsible for the Critical Virus Alert popups, right-click it, and select Send to Bin. After that, don’t forget to empty the bin.
Video walkthrough for this step:
Sometimes, uninstalling a rogue app won’t delete all of its data, because the application has created additional files in several places in your system. For this reason, we also recommend checking a couple of locations where you might find such files:
- Click the Go menu again, click Go to Folder, type “/Library/LaunchDaemons” and hit Enter.
- Set the folder that opens to a “Listed” view, sort the files by date, and look at the most recent ones.
- Look for suspicious files with random strings of symbols as their names or files reported on this Apple Discussions thread. Also look for files with names that contain any of the following words:
- calculator
- calender
- confcloud
- copypaste
- date
- fixer
- gettime
- helper
- hlpr
- mafntask
- moniter
- pcv
- scan
- search
- smokyashan
- systemond
- systemExtr
- spigot
- techyutil
- time
- updService
- util
- utilty
- vlm
- Delete any suspicious files you find and then empty the Bin.
Lastly, we recommend to check your Mac’s settings for rogue profiles:
- Go to the Apple Menu in the top-right and click System Settings.
- Open Users & Groups, click the padlock, and enter your password to unlock those settings.
- See what profiles are listed there and delete the ones that you don’t recognize.
- Important: Even if you see profiles with seemingly legitimate names, such as AdminPrefs or Chrome Settings, you mus still delete them if they aren’t created by you.
Once you are done with this final step, we have high confidence that the Critical Virus Alert popups should cease to appear on your Mac.
However, in case the manual steps presented in this guide turn out to be insufficient, we strongly recommend making use of SpyHunter 5 – a professional removal tool you can find on this page.
This security software specializes in dealing with hijackers, adware, PUPs, and other similar unwanted software, so it should quickly get rid of whatever’s causing the Critical Virus Alert popups to appear on your screen.

Leave a Reply