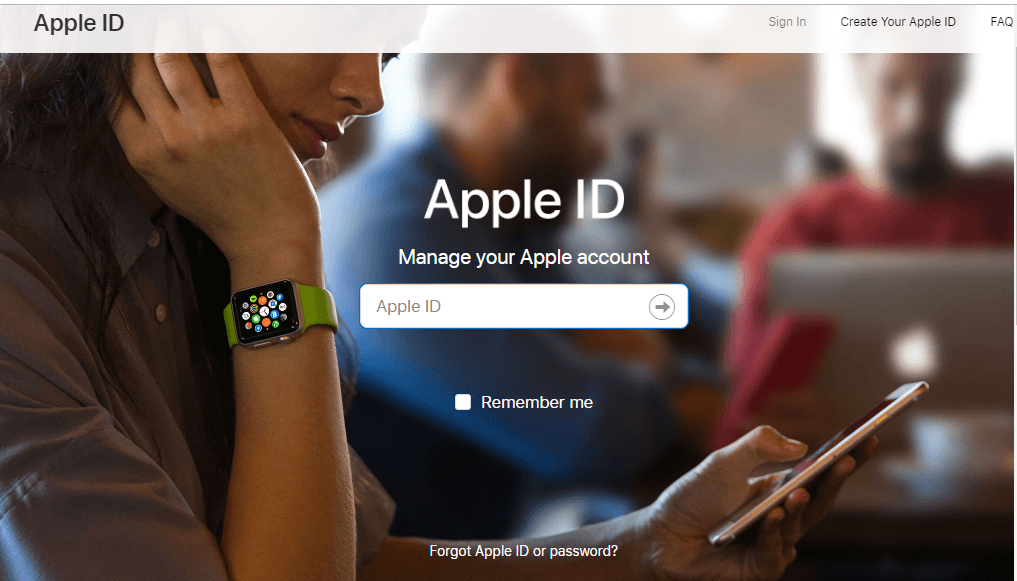
The people, who want to use Apple’s products, are usually required to create an Apple ID account. This account lets them personalize their MacOS and iOS, as well as to have access to features like iTunes, Apple Online Store, FaceTime, iCloud and others. There might be cases, where you may need to create a new Apple account, or you simply may want to delete the old account forever. That’s why, in this article, we will explain you how to get rid of your old Apple ID. Keep in mind, though, that once deleted, you cannot reactivate or recover it. That’s why, you must be very sure that you want to permanently remove it.

How to Delete an Apple ID Account?
Step 1. Preparation for deletion of the Apple ID
After you delete the account, you will not be able to access your iCloud Drive or iCloud Mail, iTunes, iMessage and the App Store, as well as any purchases that you have made. That’s why, before you proceed to the steps below, make sure that you backup all the files, documents, emails, messages and contacts that you want to save.
Step 2. Deauthorize Your Apple ID in iTunes on Mac and Windows
For Mac
- Open iTunes.
- Click on the Account menu and from the drop-down menu select “Authorization”.
- From the pop-up menu select “Deauthorize This Computer”.
- Next, sign in to your Apple ID and, when prompted, enter the Apple ID account and password.
- Your iTunes account page will open.
- Select “Deauthorize” to deauthorize iTunes from all computers that you are logged in.
For Windows
- Open iTunes and click on the Store tab
- Select Account option and sign in to your Apple ID.
- Next, when prompted, insert the Apple ID account and password.
- Your iTunes account page will open.
- Then click on “Deauthorize All” to remove iTunes access to any computer which you are signed in.
- Finally, sign out from your Apple ID account from the Account menu.
Step 3. Sign out from you iPhone.
- On your iPhone select “Settings”
- Click on your iPhone’s name.
- Find the “Sign out” option and select it.
- Before signing out, you will need to disable “Find My iPhone”.
- Finally, tab “Sign Out” to get out of your Apple ID. Any data associated with it will be removed from the iPhone.
Step 4. Sign out from you Mac.
- Select the Apple menu and from the drop-down menu choose “System Preferences”.
- Next, open iCloud and unmark the “Find My Mac” option.
- Enter your Apple ID when required and click on “Continue”.
- Next, select “Sign Out”. When you click it, you can choose to keep a copy of your data in your iCloud.
- Finally, click “Continue” to sign you out of your account on your Mac computer.
Step 5. Send a request for an Account Deletion.
The Apple ID can be deleted only by Apple’s customer service, thus, you need to contact an Apple support with a request for account deletion.
- Open the Apple ID website. https://appleid.apple.com/
- Next, log in to your Apple ID account and fill in the security questions (and the two-factor authentication if applicable.)
- Then, click on “Get Support PIN” and select “Generate PIN”.
- Write down the four-digit PIN as you will need it for the next steps.
- Next, call the Apple support and follow the automated assistant. (The Apples support number is in the following link https://support.apple.com/en-us/HT201232.)
- Request the deletion of your Apple ID. When connected, you should say Apple ID and wait for confirmation of your request. The automated assistant will explain the iForgot to you. When requested, you should agree by saying “Yes please”.
- Provide the required information. An Apple representative will ask you if you want to delete your Apple ID account. Just confirm that and give them your Apple ID email address, the support PIN from step 4, and any other information that they will ask you so they can delete your account.
Step 6. Disable you iMessages.
- In order to start the process, open the following link https://selfsolve.apple.com/deregister-imessage/
- Navigate to “No longer have your iPhone?” heading.
- Next, enter your phone number and click on “Send Code”. A verification code will be sent to you in a text message.
- Enter the verification code and click on “Submit” to verify that the inserted phone number is yours.
- This will prompt Apple to remove the number from iMessage.

Leave a Reply