Let’s talk about a sneaky piece of malware called VShell that’s been showing up on macOS, Windows, and even Linux systems. This one’s different—it doesn’t sit around as a regular file on your hard drive. Instead, it runs straight from your computer’s memory, which means traditional antivirus tools have a harder time noticing it.
What’s messed up about VShell is how much it can actually do. It acts like a backdoor into your system, works as a Remote Access Trojan (RAT), and can inject extra malicious code while it’s at it. Once it’s in, it can mess with your system processes, snatch private data, and basically open the door for more attacks to come in after it.
Researchers have tied VShell to UNC5174, a hacking crew with links to the Chinese government. They’ve been using it in targeted cyberattacks across different industries. So yeah, if you think something shady might be running in the background—especially without leaving any normal file traces—it’s worth checking for VShell. This thing doesn’t play around.
How to Remove VShell From macOS
Here’s a streamlined walkthrough designed to assist you in getting rid of VShell with minimal trouble. Many users have reported success using this exact method, so hopefully it’ll be just as effective for your case. If the issue continues, don’t stress—keep reading for a more in-depth cleanup procedure further down.
Remove VShell
- : Easy – Launch Activity Monitor.
Search for vshell.Double-click it, choose Quit, and then hit Force Quit.
- : Easy – Open Finder > Go > Go to Folder…
Type in: /Library/PrivilegedHelperTools/Locate the file named VShell and drag it into the Trash.
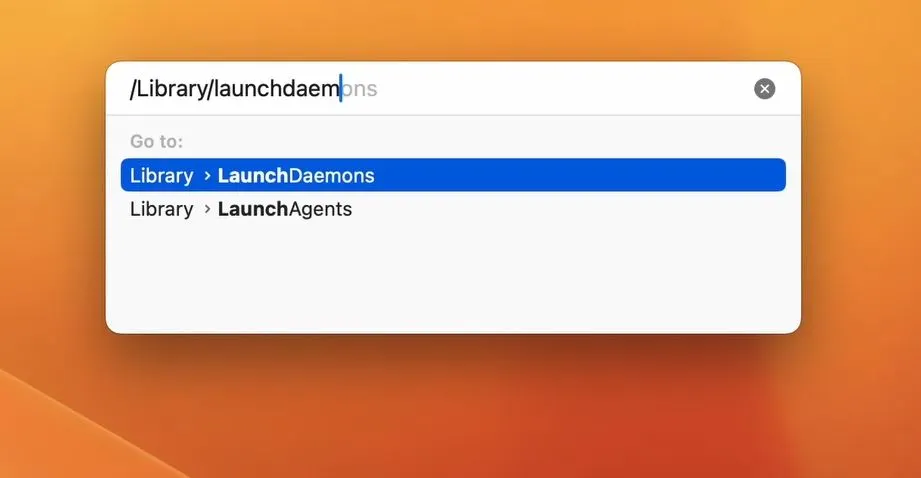
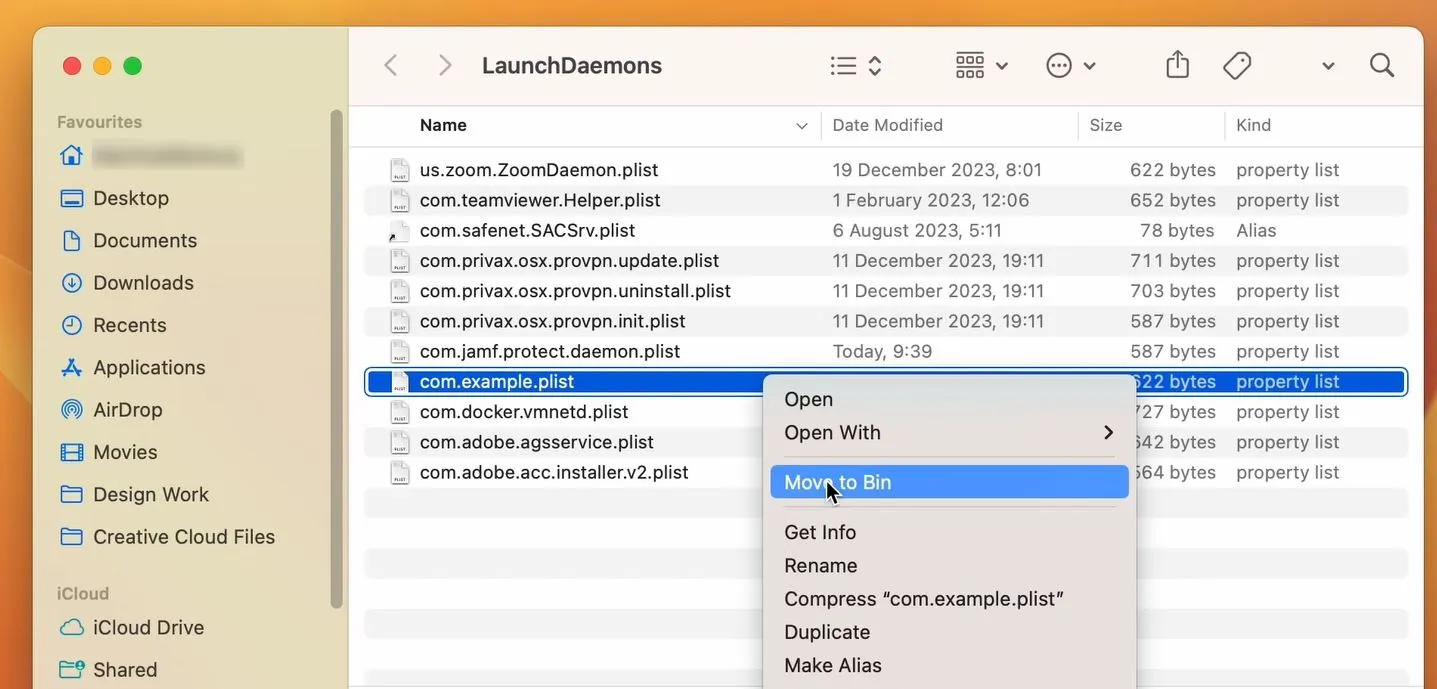
- : Easy – Navigate to /Library/LaunchDaemons/
Remove the file named VShell.plist. - : Moderate – Open the Terminal application and enter this command:
sudo rm -rf ~/.Trash/* (without using quotation marks) - : Easy – Head over to System Preferences > Users & Groups > Login Items
Eliminate anything related to VShell or entries you don’t recognize. - : Easy – Restart your Mac.
- : Easy – (Optional but recommended): Manually delete the VShell app from /Applications if still installed.
If this fast-track method didn’t get rid of VShell, the extended guide below will walk you through a deeper cleanup.
VShell Mac – Advanced Removal
The following instructions provide a more comprehensive strategy to completely remove VShell from your Mac. Follow each step closely, and if you find any part too difficult, remember there’s an optional removal tool suggested on this page you can try.
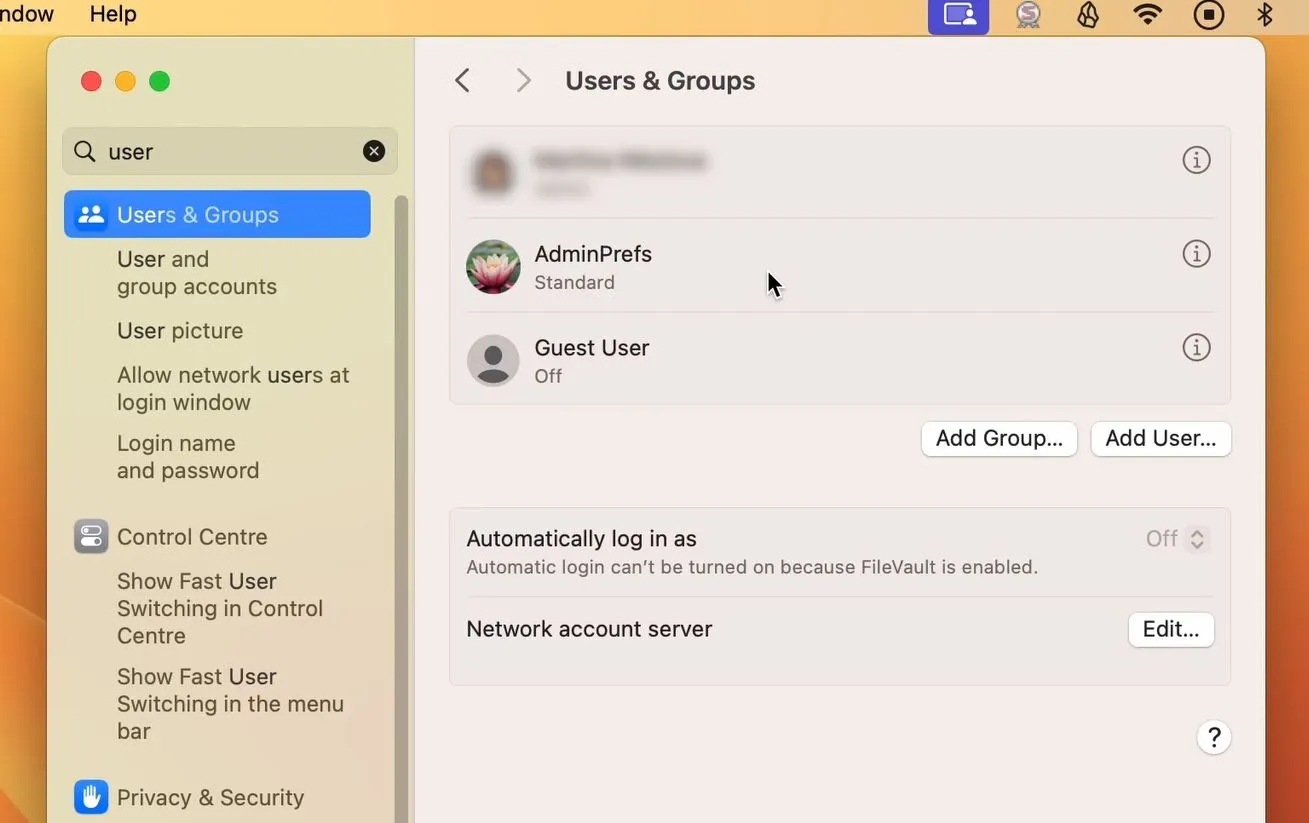
- 1.1Go to System Settings > Users & Groups.
- 1.2Click the padlock icon at the bottom-left corner, then enter your admin credentials to allow changes.
- 1.4If you find any questionable user profiles, highlight them and click the minus (-) button to remove them.
Disable VShell Mac System Permissions
VShell may have given itself high-level access, enabling it to operate on startup, alter settings, or reinstall itself silently. Removing these permissions is crucial to block further activity.
- 2.1Go to System Settings > Security & Privacy > Full Disk Access.
- 2.2Look through the list of entries that have full disk control. Keep an eye out for anything unfamiliar or possibly tied to VShell.
- 2.3Right-click any suspicious listing and choose Show in Finder.
- 2.4In the Finder window that opens, delete the related app or file.
- 2.5Go back to the Full Disk Access settings, and click the minus (-) icon to revoke that item’s access.
Delete VShell’s Hidden Files in macOS System Folders
VShell often disperses files across several system locations to keep running in the background. These components need to be removed manually for full removal. Follow the steps below to locate and delete them.
- 3.1Boot your Mac into Safe Mode:
→ Intel Macs: Shut it down completely, then press the Power button and hold Shift as soon as it powers on, until you reach the login screen.
→ Apple Silicon Macs: Power down, then press and hold the Power button until Startup Options appear. Select your startup disk, then hold Shift and click Continue in Safe Mode. - 3.4Delete anything that appears shady or fits these naming patterns. Avoid removing core system files—if you’re unsure, take note of the name and look it up in Apple user forums.
- 3.5After cleaning out these directories:
Restart your Mac as you usually would.
If VShell is still acting up, boot back into Safe Mode and double-check those folders. It’s possible something was overlooked.


