Smartphones and tablets are becoming more and more important in our daily lives. And it’s no surprise that their usage is struggling to overpower that of regular computers. But as it is now, usage is split almost evenly in between and we still need both for work and leisure.
How to Transfer files?
And with that in mind, we often run into cases when we need to transfer files to our computer from our phone or vice versa. Now, there are several ways to do this. Bluetooth and a regular USB cable are among the first of these that come to mind.
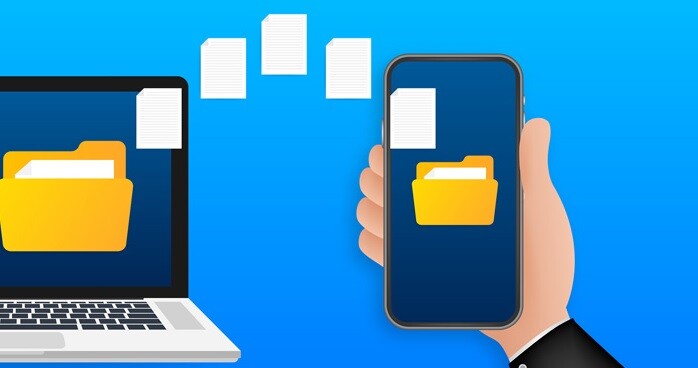
However, these are not the only possible file transfer solutions that we have access to today. In fact, did you know that you can even use your internet connection in order to do this? Well, you do now. And we have focused this post on showing you how you can take advantage of this transfer method as well.
Accessing Android files on Windows 10
If you already have some experience with the subject, then you have likely heard that “there’s an app for that”. As a matter of fact, there are several apps designed to aid users in this process. But there is one that offers a simpler solution for this problem and we would like to direct your attention towards it. It is quick and easy, and most importantly: it will not require you to install any additional software on your computer. So naturally this will save you time and space on your PC.
The app we would like to focus on here is called Sweech, which you can download from Google Play onto your smartphone or tablet. As soon as you download it, you will be able to start transferring files pretty much immediately.
How to do it:
Step 1. Download Sweech and open the app once the download is complete.
Step 2. Press the large “Play” button in the middle of the screen.
Step 3. Note the IP address that will be displayed on the screen. Now open your web browser on your PC and type it into the address bar and hit Enter.

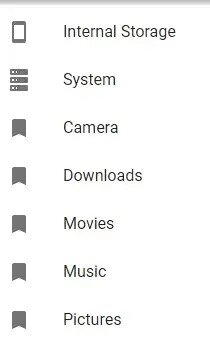
Step 4. You should now be able to see your phone’s file system. From here you can drag files to and from your phone’s folders as per your wishes.
Step 5. When you’re done transferring files between your PC and your smartphone (or tablet), you can now press the large “Stop” button in the middle of the screen of your portable Android device. This will stop the connection and you will no longer be able to transfer files until you connect again.
Hint: Sweech will always display the exact same IP address and port. So, to make things easier on yourself, you don’t always have to type in the IP address into your browser every time you wish to transfer files. Instead, you can bookmark the page for faster access.
Accessing Windows 10 files on Android
Same, same, you would think – but different. Actually, accessing your Windows 10 files on your Android device is a little trickier than doing things the other way around. But it’s manageable. And again, this will not require you to download any additional software onto your computer. We have chosen one app for the purposes of this guide that you will need for your Android device. But if there is another one that you already have in mind or prefer, then by all means you are free to use that one. We will get to the app in just a little bit.
How to do it:
Step 1. On your computer, head over to the Public folder. Usually it will be located at C:UsersPublic. This folder is visible automatically to other users on your network. So if there are certain files you would like to make available for transfer, you can place them here. If you would rather not move files or folders to this location, then follow the next steps.
Step 2. Select the file or folder that you would like to share with your Android device and give it a right-click.
Step 3. Click on Properties and in the resulting window go to the Sharing tab -> Share.

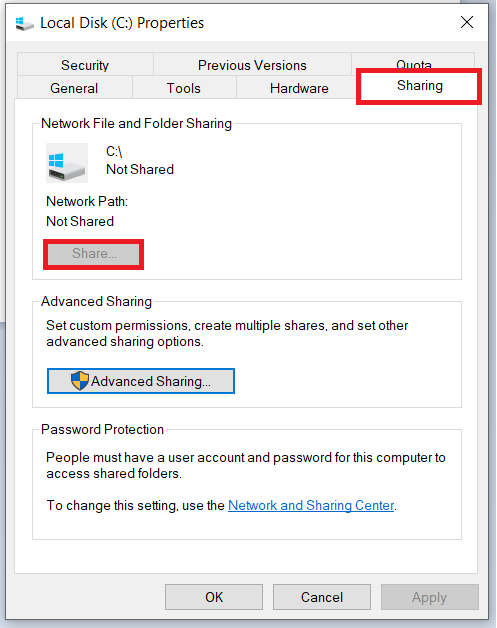
Step 4. From the dropdown menu, select “Everyone” and click on the Add button.
Step 5. At the bottom right corner of the window click on Share.
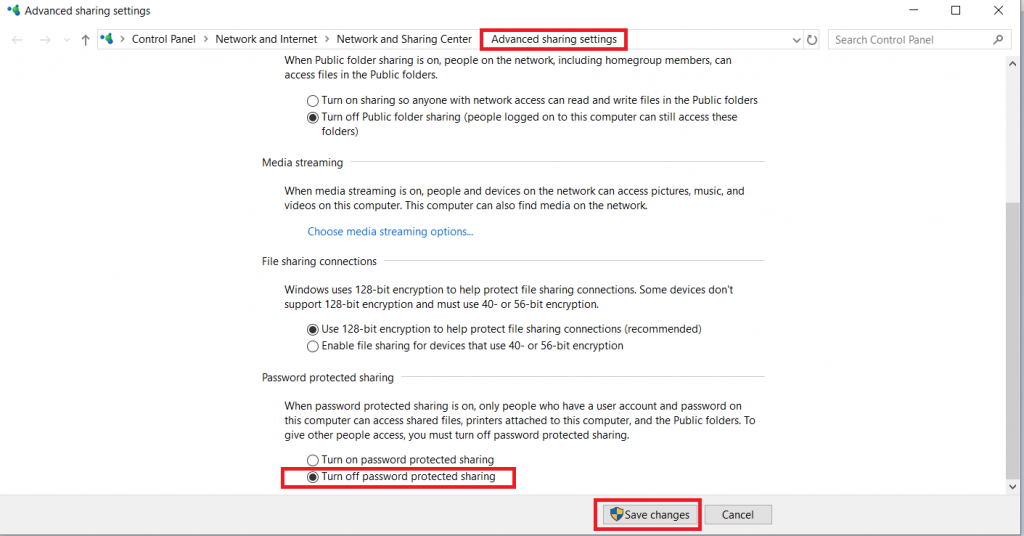
Hint: Although the above will make your file/folder of choice visible to other users, it will still require the entry of user credentials. In the event that you don’t want to have to type them in every time, you can disable this requirement.
To do this, type “advanced sharing” in the Start menu and select the respective option that shows up. Scroll down to All Networks and tick the “Turn off password-protected sharing” option. Click on Save Changes. Now you have ensured the file or folder can be accessed freely from another device on the same network.
Step 6. You will need a file-exploring app for this. As mentioned, use the one you already have, or you can download FE File Explorer from Google Play.
Step 7. Once installed, open the app and tap the “+” icon at the bottom of the screen.
Step 8. Tap the Windows icon.
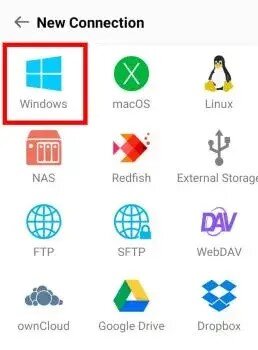
Step 9. Enter the network details of your computer (unless you are on the same network, in which case just scroll down to Network Neighborhood and find your PC).
Step 10. If you switched off password protection earlier, then select the Guest option. If not, then choose Registered User.
You should now be able to see the files and folders you have shared from your computer.

Leave a Reply