If you’ve been in the situation, where you cannot for some reason alter or delete a certain file or folder from your computer, which was followed by a message saying something along the lines of:
“You Require Permission from TrustedInstaller”.
What is TrustedInstaller?
You have probably become aware of this thing called TrustedInstaller. TrustedInstaller is a built-in user account in Windows 10, Windows 8, Windows 7 and Windows Vista. The reason you cannot really do anything to some specific files, even if you are logged in as the Administrator, is because TrustedInstaller has ownership over them. Its ‘rule’ extends to a range of system files, including some in the Program Files folder, the Windows folder and even the Windows.old folder, which contains the older version of Windows you were using before upgrading to a newer version. TrustedInstaller was designed and implemented in your computer’s system in order to be in control of all the Windows updates and some other optional Windows components, this means it has the ability to modify, install and remove these. It’s also kind of a safety mechanism intended to prevent you from deleting any important components, be that by accident or on purpose. This is certainly a useful feature, especially if you are not a computer expect, since it will prevent you from deleting a potentially important item. Unfortunately when you do need to delete something TrustedInstaller will only get in the way.
Now, as it is, you will not have permission to rename, edit or delete any of these files. If you want to do this, you will have to seize ownership and in the below steps, we will show you in detail just how to do that. Be cautioned, however, that you should only be attempting to alter any of these files and / or folders if you are fully confident and aware of what you are doing. Deleting old versions (Windows.old) can certainly save you some space, but you’ll no longer be able to revert to the old version if necessary.
TrustedInstaller Permission Fix for Win7/Win8/Win10
- Right click the file or folder you wish to delete (or otherwise modify) and select Properties.
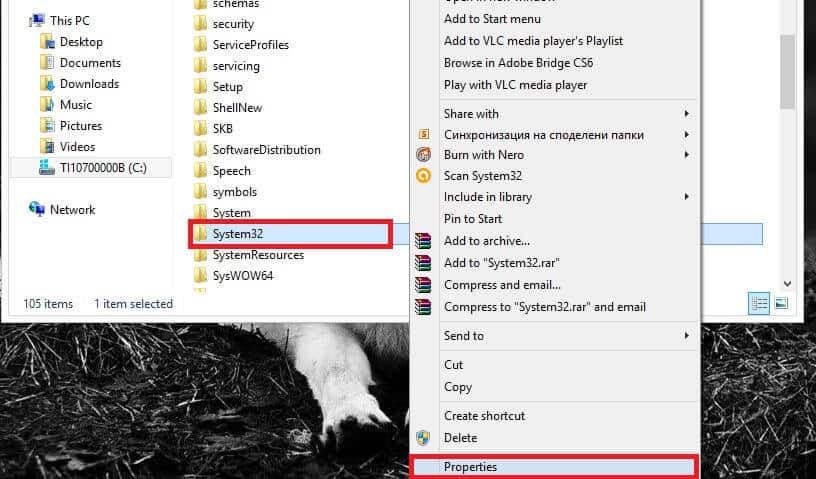
- In the window that appears, choose the Security tab and click on the Advanced button.
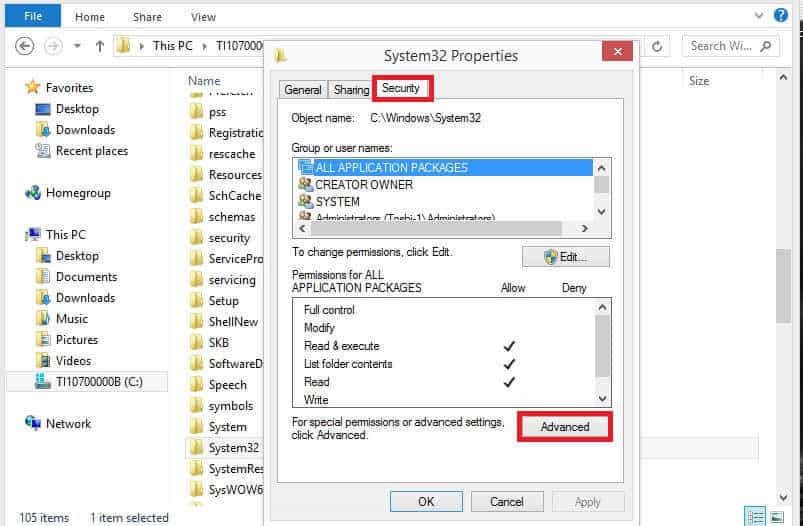
- At the top of the next window you will see the line Owner: TrustedInstaller. Right next to it you’ll have the Change option – click it.
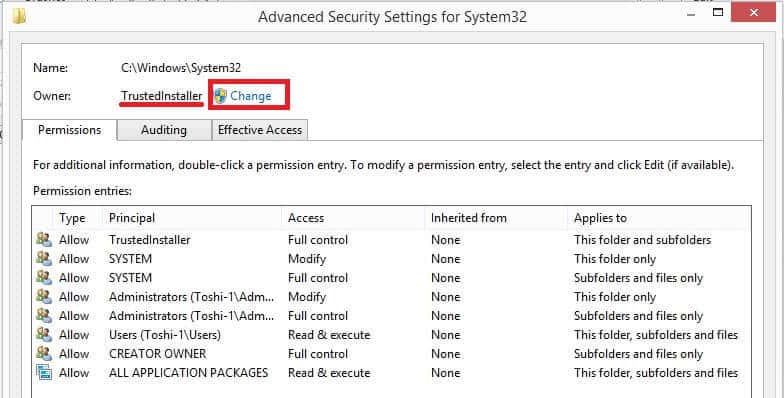
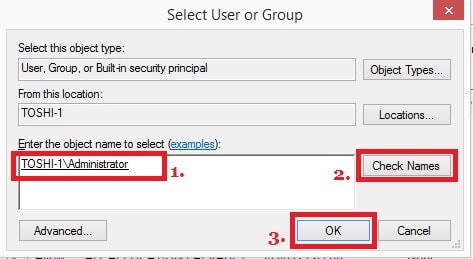
- In the space provided for you to ‘Enter the object name to select’ type in Administrators and click the Check names button right beside the box. This will automatically format the name as it should look depending on how your PC was set up. After that just click click OK.
- Tick the box next to Replace owner on subcontainers and objects and click OK.

- In the Properties window click Edit.
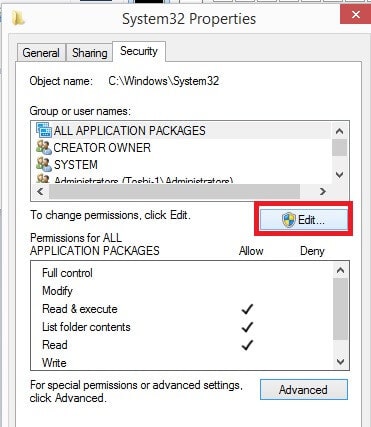
7.Choose Administrators and tick the box opposite Full Control, after which click OK twice and the new settings will be saved.

You should now have permission to rename, edit and delete files after using the above mention method. Please be careful with your newly acquired power.
TrustedInstaller Service
Trusted installer is one of many integrated Windows processes, that are essential to your system’s normal functioning. However, it may occasionally require large amounts of your PC’s resources, especially from your CPU. This can make your PC slower, and your system may seem unstable. Many users have been seeking a way to deal with this issue. Some have attempted to disable this process so as to save precious resources, but this is not a good piece of advice and we certainly don’t recommend it. If you disable Trusted installer, Windows updates may not be able to install and/or uninstall.
Trusted installer’s main purpose is to check for online updates and once such are available, install them on your PC. That is why it may sometimes require high amounts of CPU usage. Often, even after the installation of the new updates, the high amounts of CPU usage will continue for some time, this is because Trusted installer double-checks if there’s anything left to be downloaded and installed. As you can see, despite being somewhat annoying, this process is essential and should not be disabled. Should your PC start working slower due to Trusted Installer, you may simply want to leave it be for sometime, so that it can do it’s job.
However, for those of you who don’t like waiting, we have several ways, how you can reduce the CPU consumption, without outright disabling the process. Of course, this will not fully nullify the CPU usage, but may still be a preferable alternative.
TrustedInstaller CPU Fix for Win7/Win8/Win10
Our first suggestion is to alter your windows update settings, so that no updates will be downloaded or installed without your permission. Here’s how to do it:
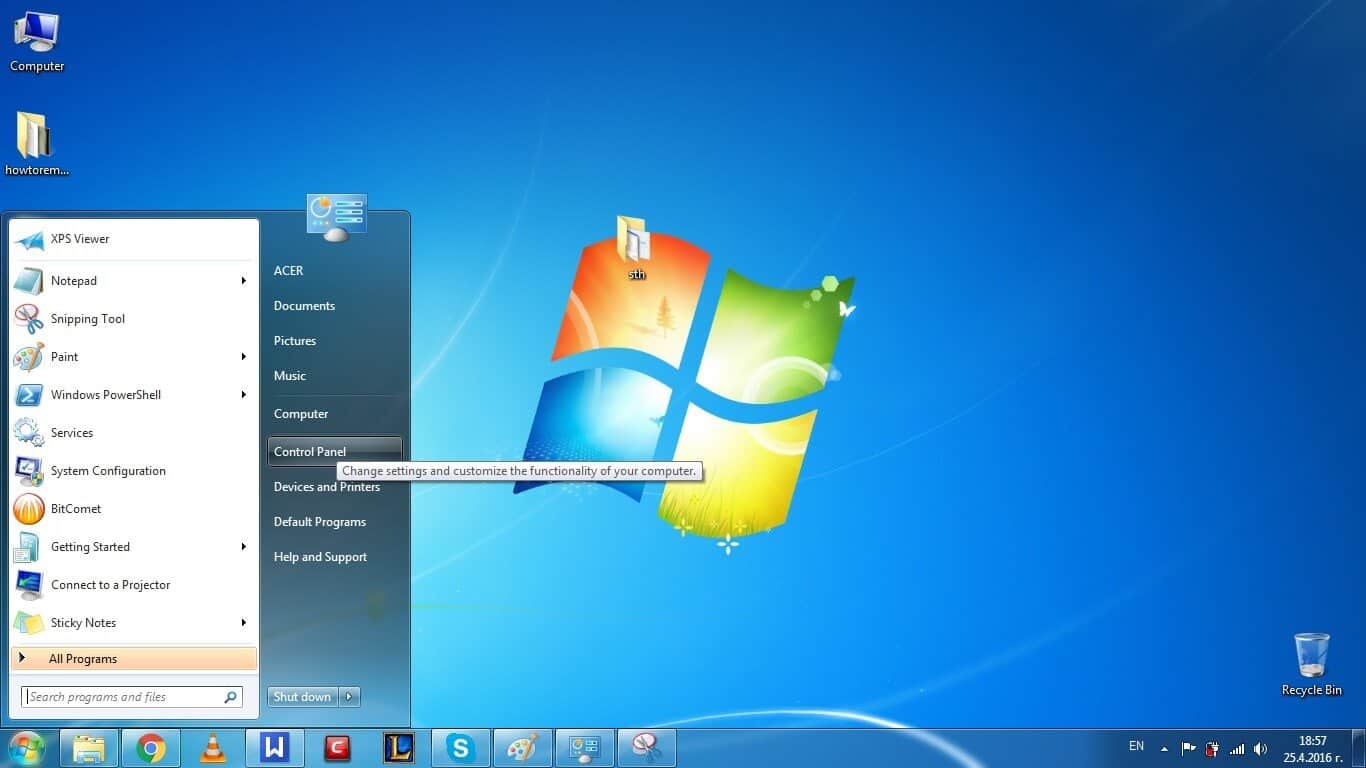
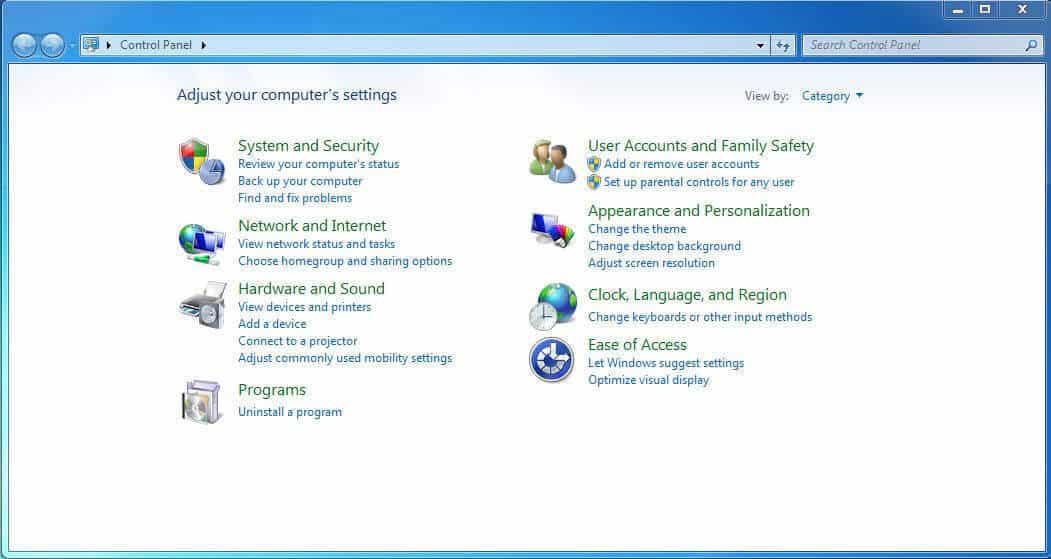
Open your Control Panel and go to System and Security.
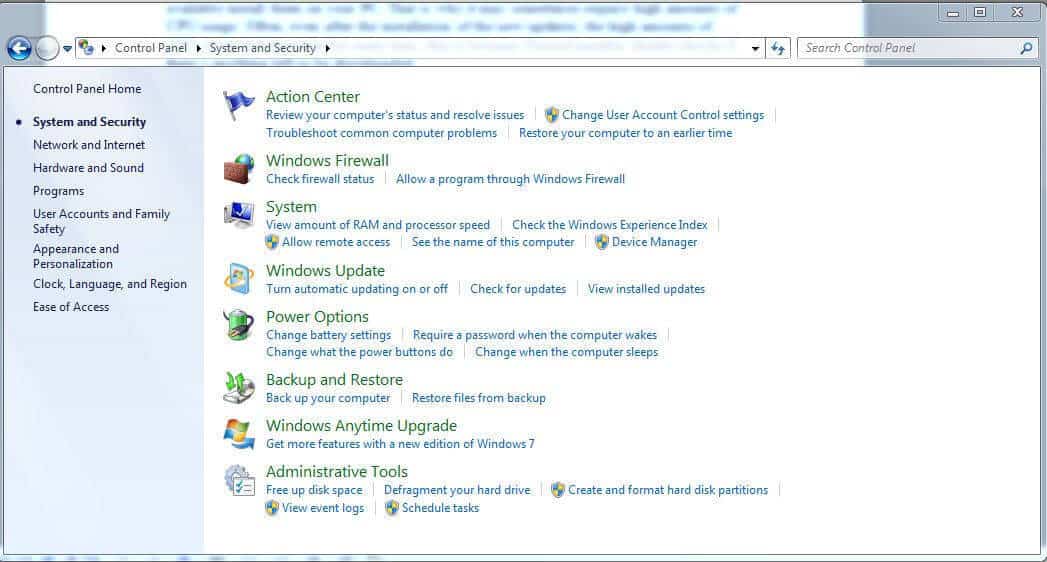
Then click on turn automatic update on or off. Now you can choose one out of four possible options:
– Install updates automatically
– Download updates, but let me choose whether to install them
– Check for updates, but let me choose whether to download and install the
– Never check for updates
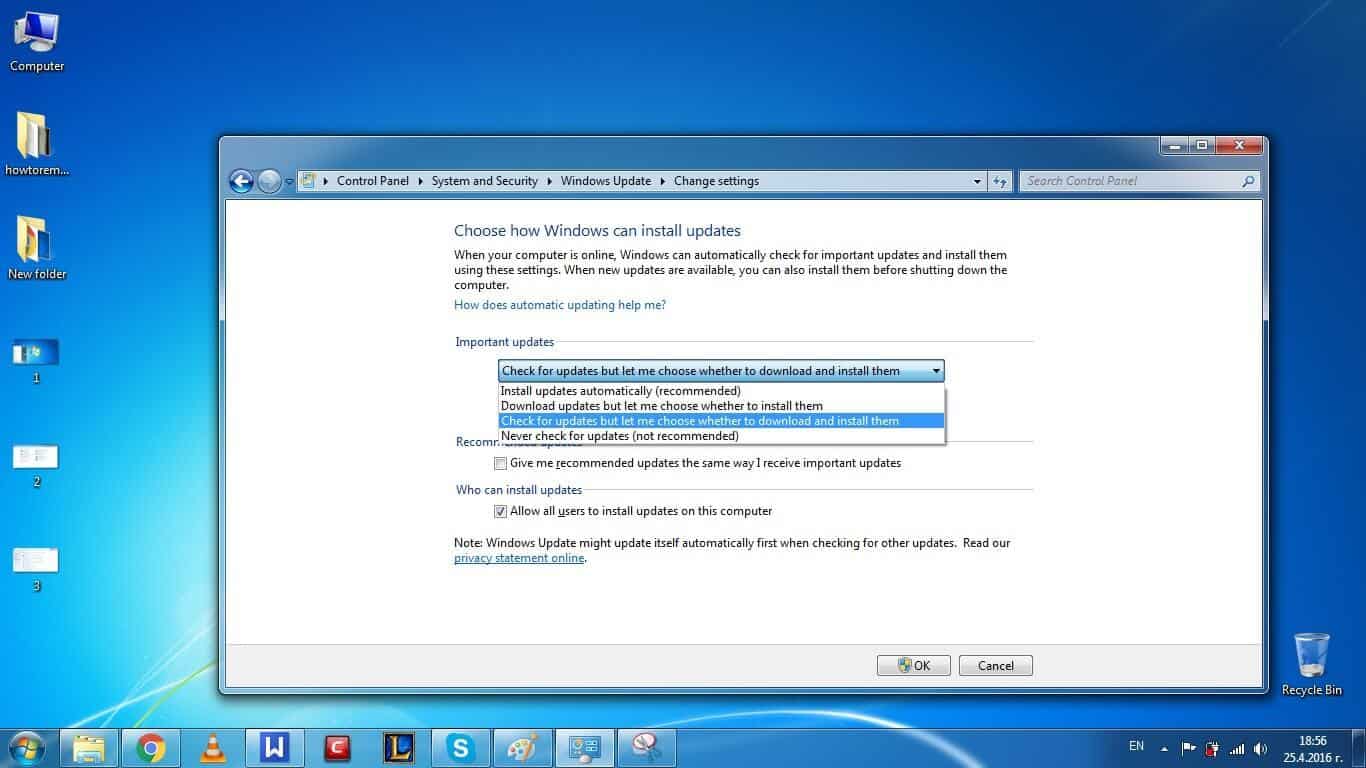
Here, you can choose whatever suits you the best – the last option will save the most CPU time, but is usually not recommended. I’d advise for option number 3, because you can let the PC update itself when you are going out or otherwise not engaged in work.
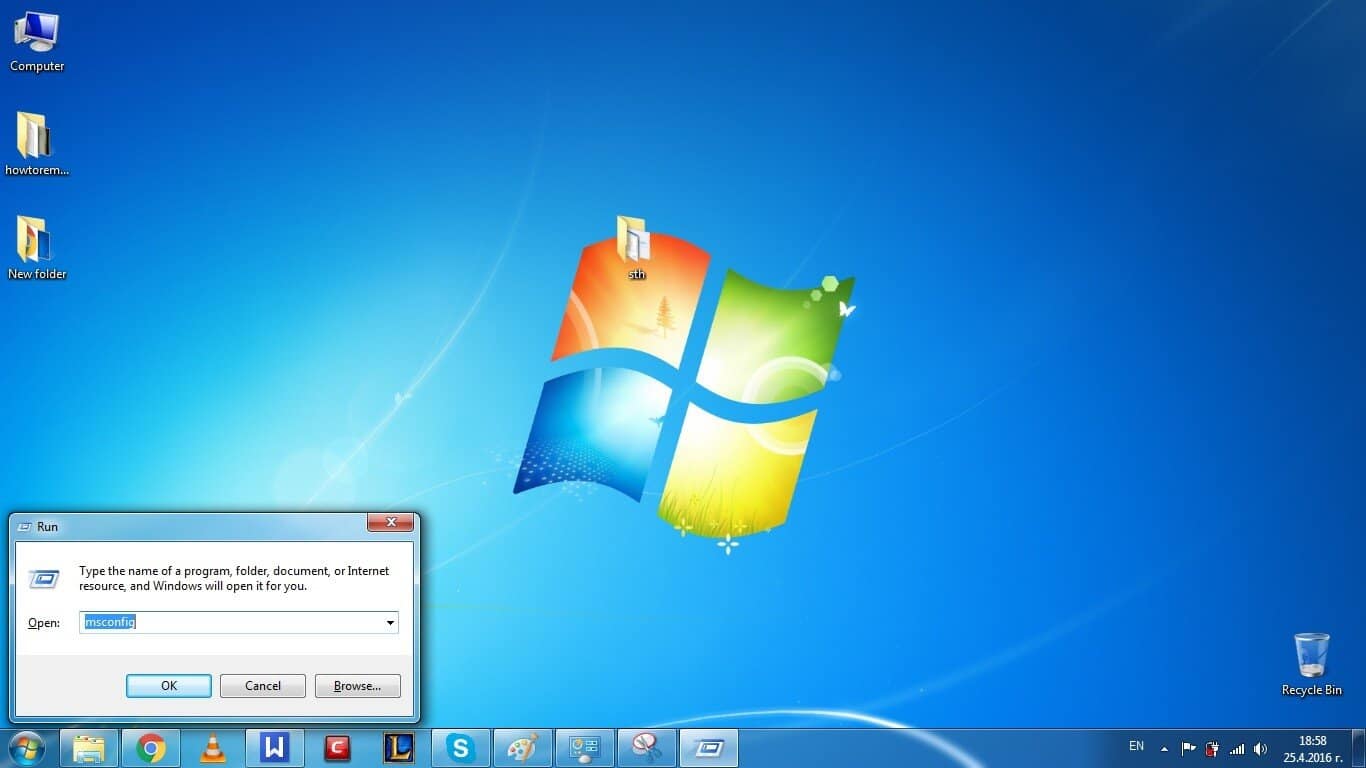
Our second suggestion is to prevent Windows Module Installer from loading automatically with Windows:
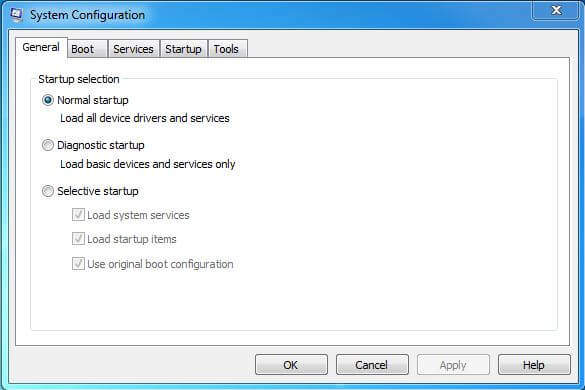
Use the Winkey + R combination and in the resulting search field type msconfig. Then hit Enter. In the following window go to the section labeled services and single out and uncheck Windows Module Installer.

Next, once again open your Control panel and go to System and Security. This time open Administrative Tools and then go to Services.
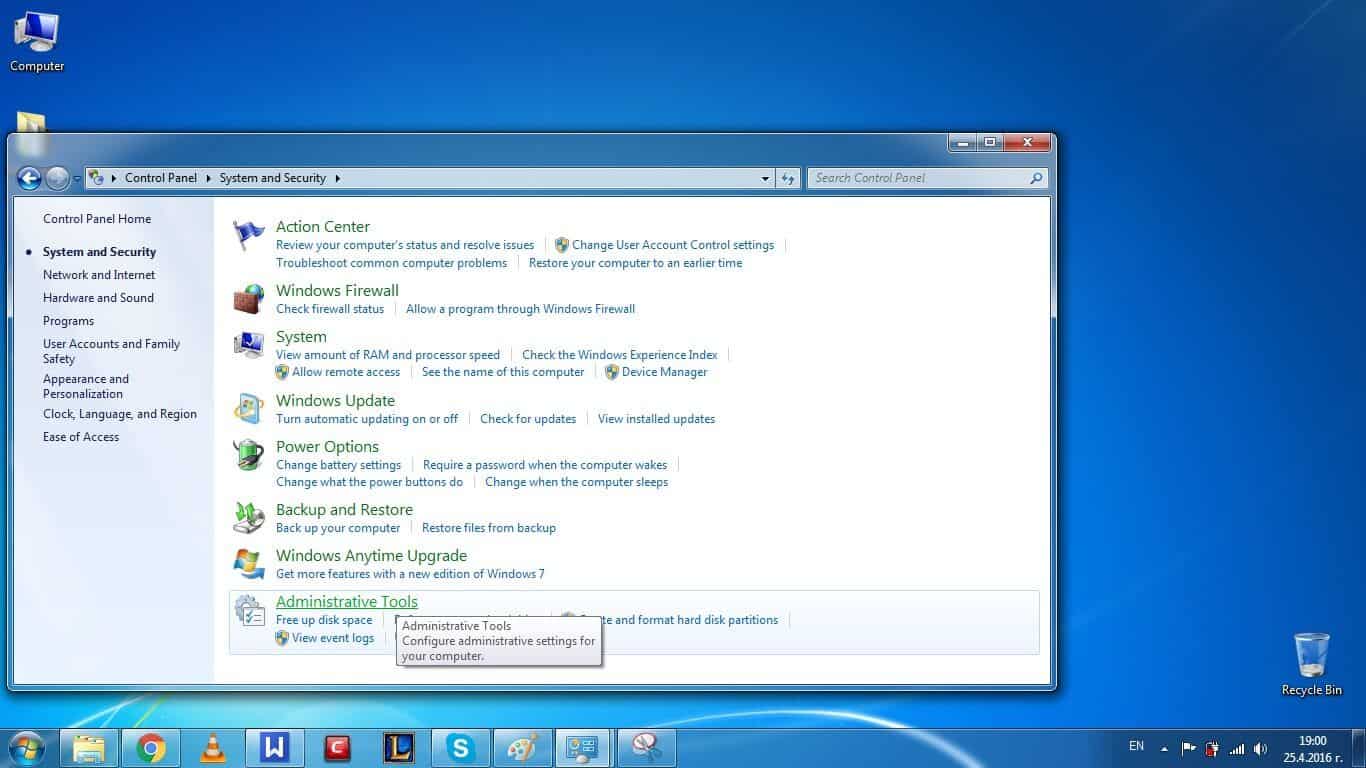
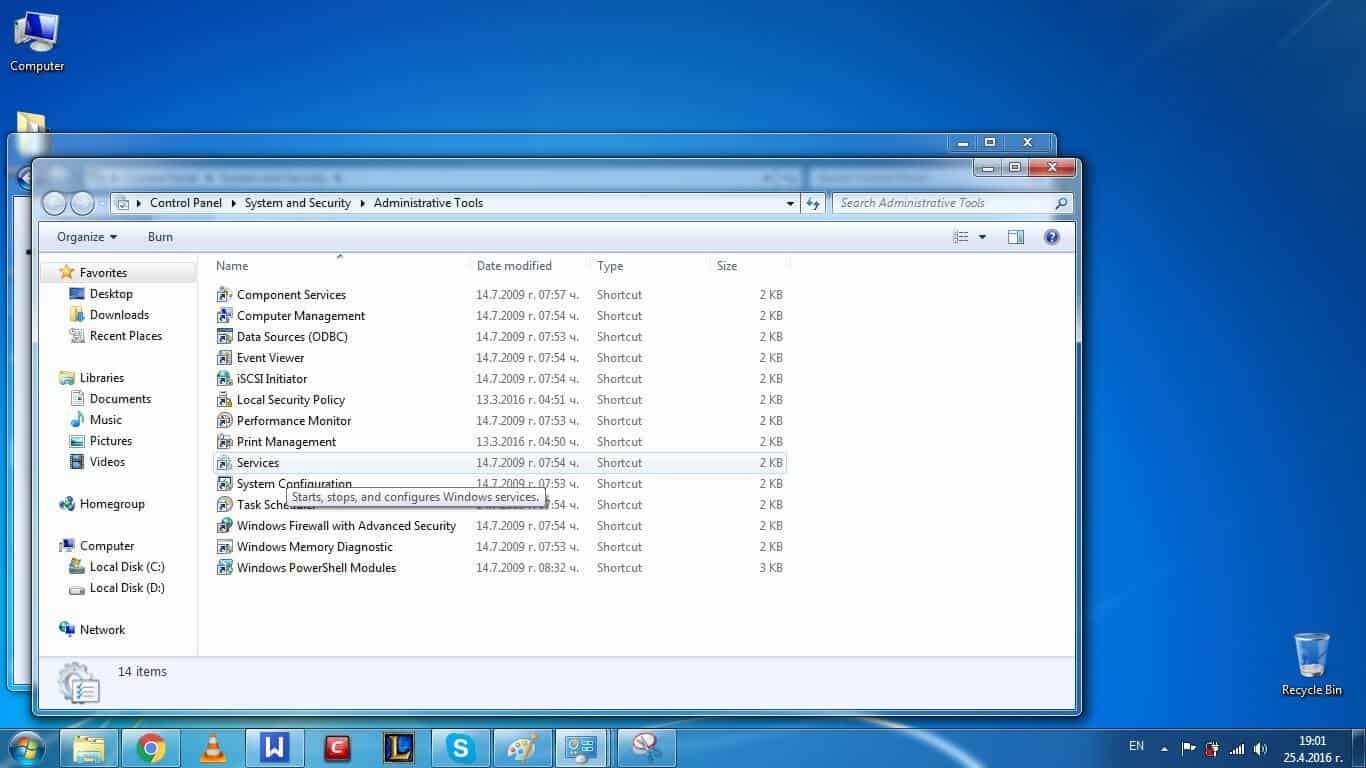
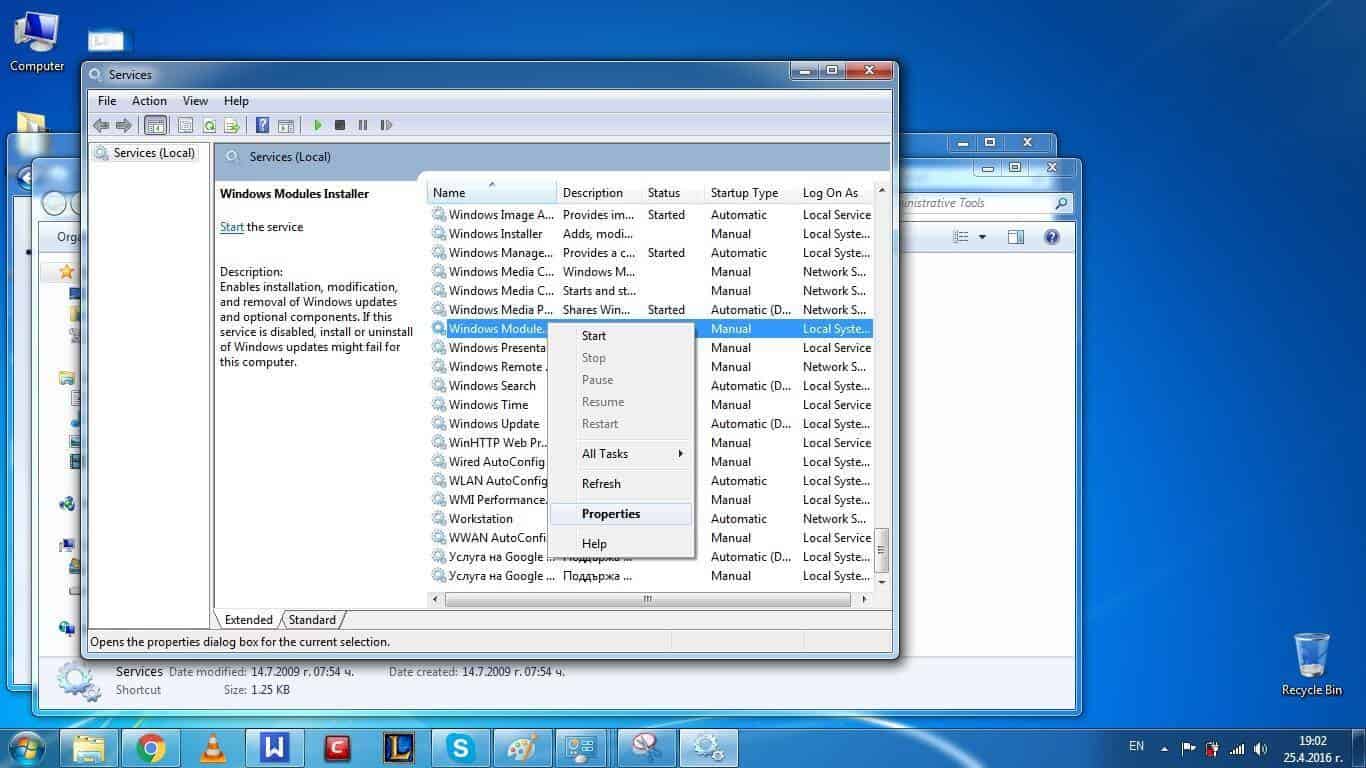
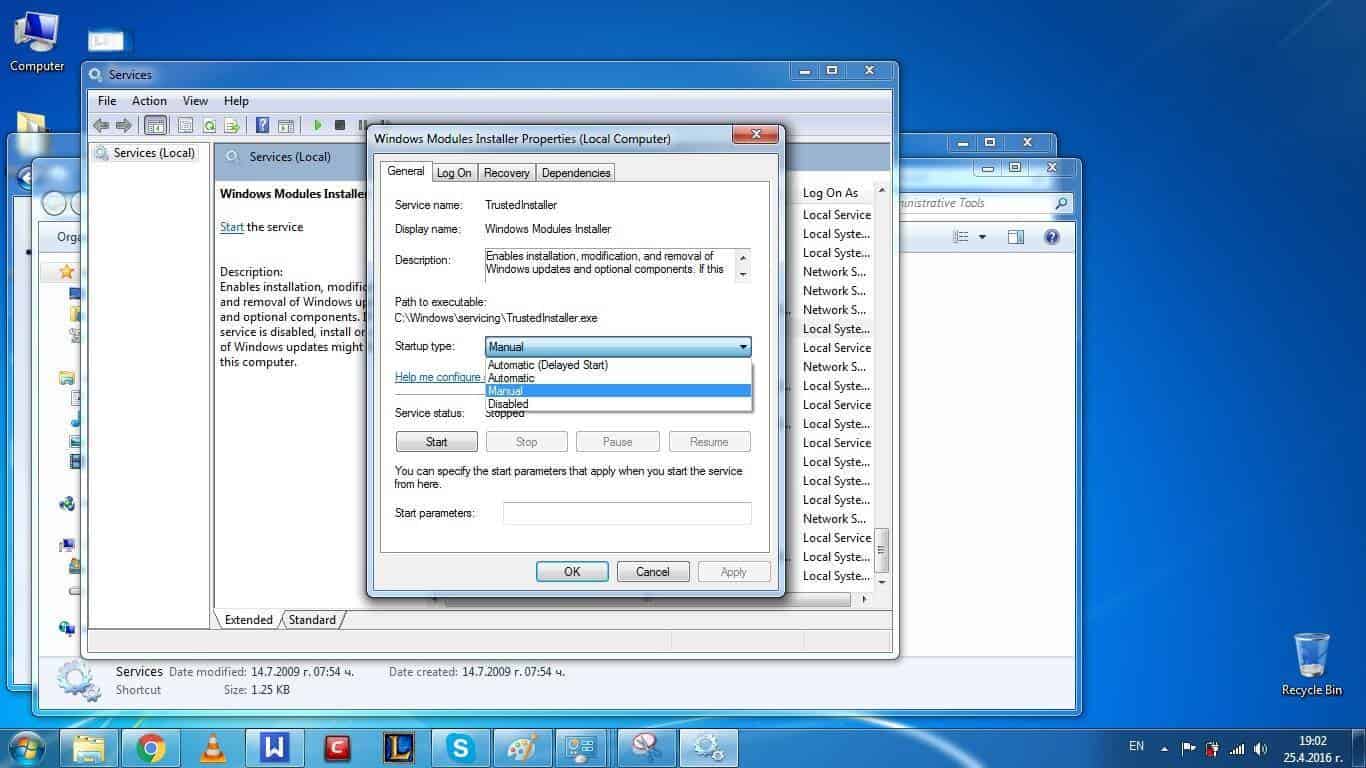
You will see a long list from which you have to single out Windows Module Installer. Once you find it, right-click on it and choose Properties. Go to the section labeled General and then change its startup type to manual. Once you’ve done that, the Module installer will no longer start alongside Windows. If you want to turn it on, you will have to do it manually.
Following these steps will help you reduce the amount of resources consumed by the Trusted installer process and will enable your computer to run smoother. However, remember that you will still need to keep this process enabled, because your system will still needs to be updated in order to perform the best way possible. Going through our guide will simply enable you to choose when is the best time to update your system instead of you computer choosing it for you (usually right when you are in the middle of something important).
Did we help you? Do you have any feedback? Feel free to share your thoughts in our comment section below. Thanks for reading.
Leave a Reply