The Error Code 0x80042405-0xa001a typically appears in Windows Media Creation Tool when you attempt to create a bootable media and is mostly related to disk settings.
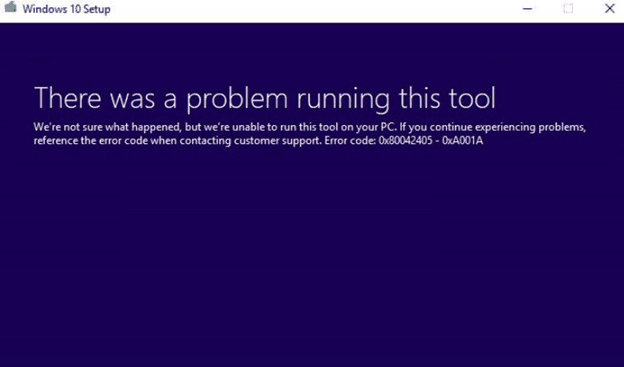
Error Code 0x80042405-0xa001a has first been reported last year, and since then, Microsoft has made numerous updates in an attempt to eradicate the issue but despite them, many users are facing the 0x80042405-0xa001a error message again and again. So far, there is no clear explanation of what actually triggers this error, but we have found some workarounds which can fix it in no time. Before you proceed to them, tough, make sure that you are logged in as an Administrator on your computer.
Windows Error Code 0x80042405-0xa001a Fix
Fix 1: Download Media Creation Tool directly to the USB
Normally, when you want to launch the Media Creation Tool, you would download it to your local drive C and then launch it from there and try to create a bootable drive. A workaround that seems to fix the Error Code 0x80042405-0xa001a is to download the Media Creation Tool directly to the USB and run it from there. Simply launch MediaCreationTool.exe from the drive, select the source media, and proceed with the media creation. This should fix the issue.
Fix 2: Formatting USB as NTFS
Formatting the target USB as NTFS and then running the Media Creaton Tool is another workaround which many users report as effective. For that, we will use the in-build disk formatting feature.
- Press together the “Windows” and “E” keys and click on This-PC at the left navigation bar.
- Select your target USB device, right-click it and select “Format”.
- A pop-up window will appear, asking you for all the additional details. Make sure that the format is set as “NTFS” and proceed.
- After the formatting completes, run the Media Creation Tool (you can also implement fix 1 here) and see if the error is resolved.
Fix 3: Use Disk Management to convert to Master Boot Record
Windows Media Creation Tool needs your USB drive to be set as an MBR (Master Boot Record) instead of GPT (GUID Partition Table) because this allows you to actually ‘boot’ from the USB. To format and convert the disk type to MBR, we will use the Disk Management tool in Windows.
- Press the Windows + R keys together.
- In the dialogue box type “diskpart” and press Enter.
- Enter the command: list disk
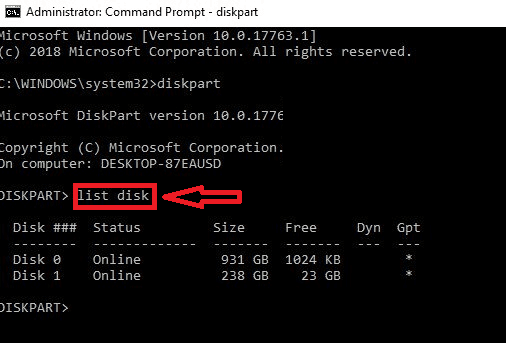
4. Now enter the command: select disk x
Note: ‘x’ is the number of the disk, which you want to create to a bootable media. For example ‘select disk 0’. 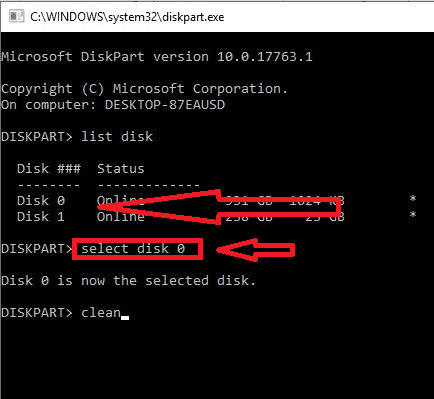
5. Now we need to clean the drive before attempting to convert it to an MBR. For that, type the commands listed below in order, but wait for the clean operation to complete before moving to the MBR convertion.
clean
convert mbr
6. Finally, run Media Creation Tool and see if the issue is solved.
Fix 4: Use Windows 7 USB/DVD download tool
To help people in making installation media, in the Windows 7 days, Microsoft released Windows 7 USB/DVS download tool. This tool does almost the same job as Media creation tool but you should have the entire ISO file already present in your system.
- First, go to the Microsoft’s official website, download the ISO file and store it on an accessible location.
- Next, download Windows 7 USB/DVD download tool from the Microsoft’s official website and install it on your computer as per the instructions.
- Once installed, run the application as an administrator.
- In the first step, you will need to Choose ISO file which you want to create a bootable drive of. Select the ISO, which you just downloaded and continue.
- Now select the target drive and follow the instructions on the screen to create a bootable USB drive.
Leave a Reply