Stateful Firewall is an unwanted piece of software that some users encounter on their Mac computers without knowing how it got there. Most people learn about its presence in the system after an unusual installation window appears on their screen.
The window says Stateful Firewall is in the process of being installed and that the user must wait for the installation to complete before they can turn off or restart the computer. Only, Stateful Firewall never seems to finish its installation and its window just hangs there, preventing you from shutting down the Mac. Additionally, some users report obstructive Stateful Firewall popups and notifications that just won’t stop for as long as the unwanted app is present.
The good news is that this app isn’t actually dangerous. Instead, it appears to be a type of security tool – an annoying and potentially unwanted one, sure, but not something that will harm your system. Still, you probably want to remove it (good idea!), so we’ll now show you the exact steps to get rid of the unwanted app.
How to the Stop StatefulFirewall Install Process
According to our research, it appears that StatefulFirewall is linked to the McAfee antivirus and its installation may be getting triggered by a McAfee update request. This means that uninstalling McAfee may sometimes make StatefulFirewall disappear and put an end to its installation.
However, this doesn’t always seem to work. Additionally, some files are left behind that must also be deleted to be sure that the unwanted software is fully gone. For this reason, you must closely follow the next steps to fully get rid of Stateful Firewall.
SUMMARY:
| Name | Stateful Firewall |
| Type | PUP |
| Detection Tool |
Step 1: Enter Safe Mode
When you are in Safe Mode, the processes of this app won’t be active, and won’t be using any files linked to the unwanted app. This, in turn, makes the deletion of those files possible. Therefore, booting into Safe Mode is a necessary step:
Safe Mode for Apple Silicon Macs
- Open the Apple menu from the top-left and click Shut Down.
- Wait for your Mac to shut down completely and then hold down the power button. Release it when the “Loading Startup Options” screen appears.
- Choose a volume to boot from (normally, that should be the Macintosh HD volume)
- Hold down Shift and click the Continue in Safe Mode option.
Now your Apple Silicon machine will boot into Safe Mode and you can continue with the next step.
Safe Mode for Intel-based Macs
- Turn off your Mac – wait for it to shut down completely.
- Then press the power button to start it back up and immediately hold down the Shift key until you the login screen appears.
- Log in to your Mac normally. It’s possible that you get asked to log in a second time, so do it again if needed.
You should now be in Safe Mode. Time to move on to the next step.
Video walkthrough for this step:
Step 2: Temporarily Uninstall McAfee
As we mentioned. McAfee could be linked to Stateful Firewall and might be part of the reason why you are getting the obstructive installation screen. For this reason, we recommend that you first uninstall McAfee if you have it on your Mac. You can reinstall it later, but for now, not having it on your PC might help with the removal Stateful Firewall.
To uninstall McAfee, just click click the Go menu from the top and open Applications.
Then find the McAfee icon and drag it to the Bin. Alternatively, right-click it and select Move to Bin.
After that, empty the Bin and McAfee will be uninstalled. As we mentioned, you can always reinstall it later, once you’ve gotten rid of StatefulFirewall.
Video walkthrough for this step:
Step 3: Download Find Any File
To perform the next step, you’ll first need to download and install a tool called Find Any File. It’s a paid tool, but can be used for free for a couple of days, and you’ll really only need it for about half an hour to finish the guide. In other words, you won’t need to pay for it unless you want it for future use.
We know some of you probably don’t want to download third-party software, but in this case, there’s no going around it. You’ll need FAF to complete the next steps.
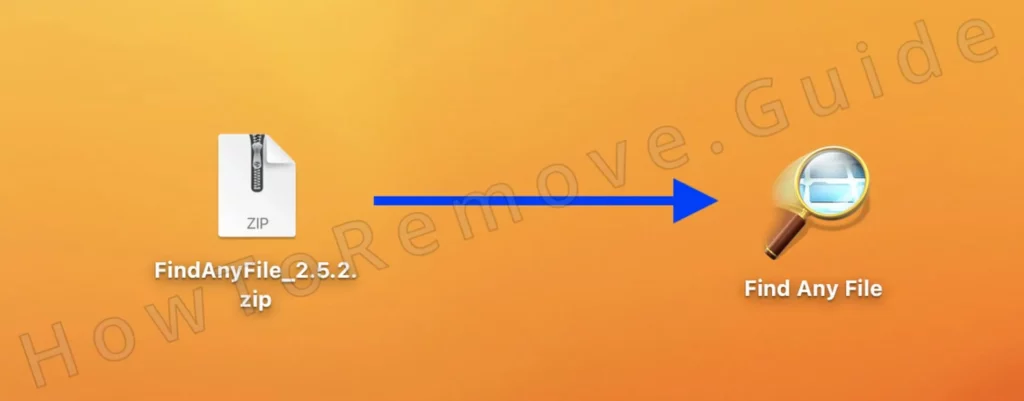
After you download it, just double-click its .zip file and the tool will appear.

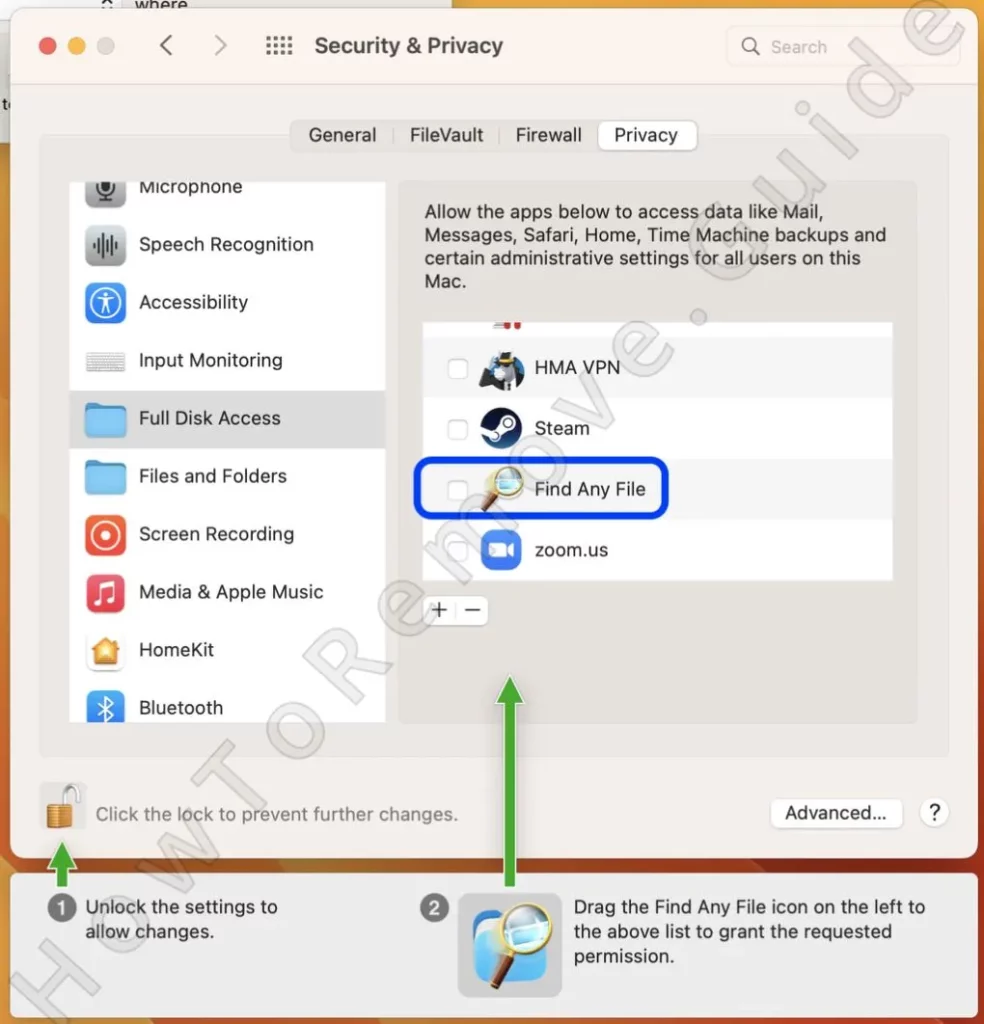
Next, run the app and provide it with the needed permissions.

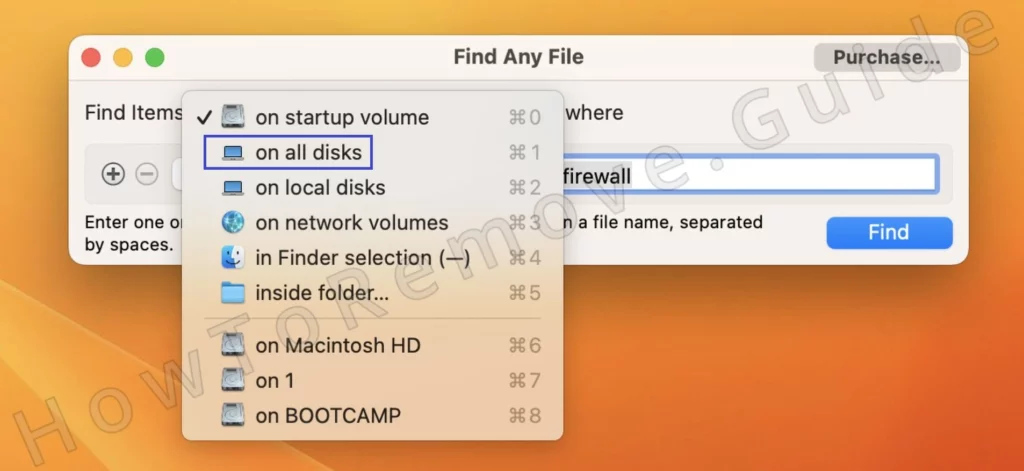
After the app is ready and has the needed access, click the locations picker, and click on All Disks.

Then type “statefulfirewall” in the search bar and click Find. Be patient while the search is running, and once it finishes and all related files are accounted for, send those files to the Bin and empty it.
Step 4: Check the Login Items and User Profiles
Once you’ve removed the files of the unwanted apps and before you restart your Mac back into regular mode, be sure to check your Login Items and User profiles to see if there’s anything odd there that might be linked to Stateful Firewall:
Click the Apple Menu, and go to System Settings.
Open Users & Groups, click the Padlock, and enter your password to unlock those settings.
Then look at the profiles in the right panel. If you see any profiles there that weren’t created by you, select them and delete them. Even if a given profile has a seemingly legitimate name, if it wasn’t added by you, you need to remove it.
Next, go back to System Settings, go to General > Login Items, unlock the settings by clicking the padlock, and then look at the items listed there.
If you see Stateful Firewall, anything else that could be linked to it, or anything unfamiliar in general, remove it from the list.
How to Clear Your Login Items
How to Delete Rogue User Profiles on Your Mac
Delete Stateful Firewall Automatically
Deleting the Stateful Firewall files and checking your Mac’s Profiles and Login Items should be enough to clean your Mac, but it’s always possible that something might be left behind when you are trying to perform a manual removal.
For this reason, we recommend using SpyHunter, a professional anti-malware tool that you’ll find linked on this page. It’s very effective at identifying and deleting unwanted data and will be able to quickly find and eliminate any Stateful Firewall leftovers. Here’s how to use it.
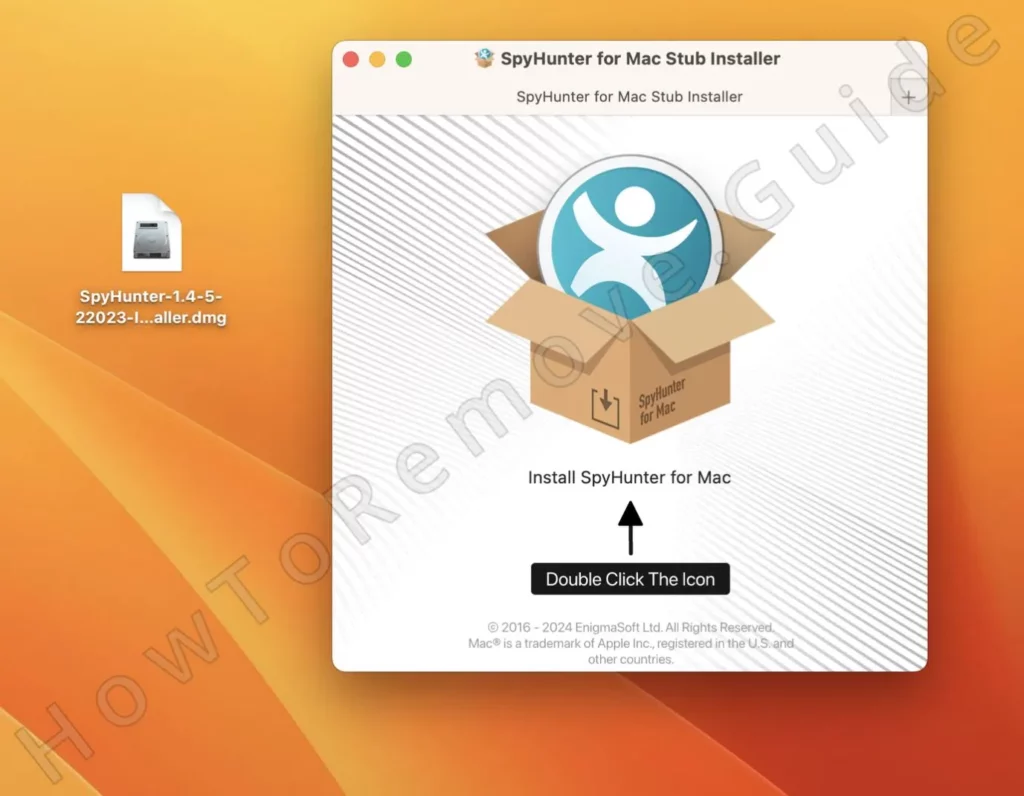
Download SpyHunter from the links on this page and install it on your Mac.

Once the app is installed, it will launch automatically and start a full system scan.
Patiently wait for the scan to complete and then take a look at the results.
If you want SH to delete them for you, you can either try its full version for free or directly purchase a subscription to the app. In either case, you’ll need to create a SpyHunter account.
If you prefer to do things manually, take note of the locations of each detected rogue file, go to those locations, and one by one delete the files in question.
What to Do When “Stateful Firewall Is Being Installed” Gets Stuck?
One of the main complaints from users who encounter this unwanted app on their PCs is that its installer tends to get stuck and doesn’t go away. This prevents them from shutting down their Mac, which is a necessary step of the removal process that we talked about above.
If you are faced with a similar issue, the first thing we recommend that you do is to try to Force Quit the stuck installation process:
Press Command + Space on your Mac and search for Activity Monitor.
Open the first result and look through the listed processes. You should see the stuck Stateful Firewall process in there.
Select the process, then click the X button at the top and select Force Quit in the new dialogue window.
Note: Sometimes the installation window will overlap the process quitting window and you won’t be able to select the force quit button.
The solution is to drag the entire Activity Monitor to the left or right side of your screen so that the process quitting window is no longer hidden behind the stuck installation one.
Video walkthrough for this step:
If this doesn’t work and the “Stateful Firewall Is Being Installed” window doesn’t go away, the only remaining option is to perform a hard shut-down, by long-pressing the power button of your Mac. When the machine turns off, boot it into Safe Mode following the instructions shown in our guide.
Once you are in Safe Mode, the obstructive window shouldn’t appear, and you’ll be free to proceed with the removal steps provided on this page.
What Is Stateful Firewall on Mac?
As we already explained at the start, Stateful Firewall isn’t really a virus or another form of malware. It can be categorized as adware, because of its obstructive behavior, with a tendency to show obstructive pop-ups on the user’s screen, but it will not cause any actual damage. It’s a similar situation to the “mac will damage your computer” or “Psoriasis will damage your computer” popups, where the issue looks worse than it really is.
The app’s apparent connection to McAfee (which is a legitimate antivirus solution) is another reason we don’t view Stateful Firewall as something malicious. It seems to us that this is a badly-made utility for keeping your system secure that has more downsides than upsides and is therefore not worth keeping.
The fact that its installation often seems to start out of nowhere, without any direct input from the user, and also that, in case it does install, it displays a pretty obstructive behavior are both good reasons to want to have it removed. And then there’s the fact that its installation will often get stuck and not let you do anything productive on your Mac. In fact, we bet most of you came to this post exactly because of this problem.
Finally, before we leave you, we should mention that, despite the connection between Stateful Firewall and McAfee, this doesn’t mean that McAfee itself is problematic in any way. You may need to uninstall it as a part of the removal process of Stateful Firewall, but once that is gone, you can safely reinstall McAfee and continue using it on your machine.

Leave a Reply