WebAdvisor by McAfee
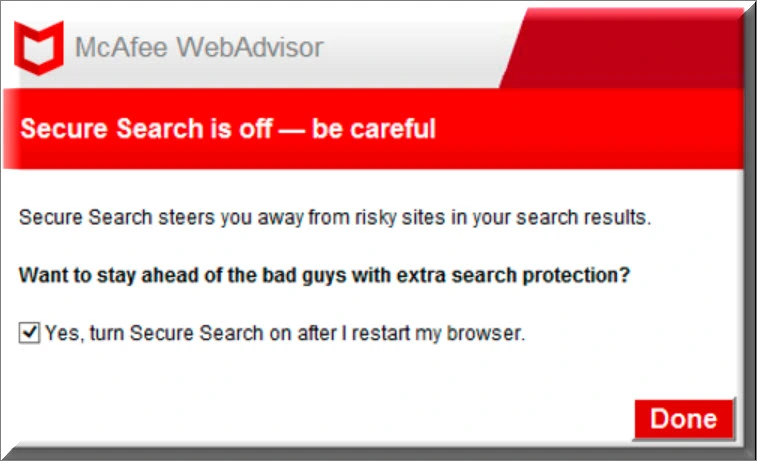
WebAdvisor by McAfee is a legitimate and secure browser extension designed to enhance your online safety. However, there are malicious applications out there that imitate WebAdvisor to deceive users. If you’re experiencing issues with WebAdvisor by McAfee, it’s likely that your browser has been targeted by a disguised browser hijacker similar to Safer Web. Dealing with a rogue WebAdvisor-mimicking hijacker should be a priority to protect your computer. While most hijackers are not extremely harmful, they can still expose your system to dangerous content such as phishing websites or those spreading Trojans and Ransomware. To address this security concern and safeguard your system, we strongly recommend following the steps outlined in the guide provided at the bottom of this post.

How to turn off McAfee WebAdvisor?
To turn off McAfee WebAdvisor, follow these steps:
1. Locate the McAfee WebAdvisor icon in your system tray, which is usually found in the bottom right corner of your screen.
2. Right-click on the WebAdvisor icon to open the context menu.
3. From the context menu, select the “Exit” or “Close” option to turn off McAfee WebAdvisor.
4. If prompted, confirm your action to disable WebAdvisor.
How to disable McAfee WebAdvisor?
To disable McAfee WebAdvisor, you can follow these instructions:
1. Open your web browser (e.g., Google Chrome, Mozilla Firefox, etc.) on your computer.
2. Locate the McAfee WebAdvisor browser extension/add-on. It is typically displayed as a small toolbar or icon within your browser.
3. Click on the WebAdvisor icon to open its menu.
4. In the WebAdvisor menu, look for an option that allows you to disable or turn off the extension/add-on.
5. Click on the disable/turn off option to disable McAfee WebAdvisor.
6. If prompted, confirm your action to disable the WebAdvisor extension/add-on.
How to get rid of McAfee WebAdvisor?
If you want to completely get rid of McAfee WebAdvisor from your computer, you can follow these steps:
Note: The steps may vary slightly depending on your operating system and the version of McAfee software you have installed.
1. Open the Control Panel on your computer.
2. Navigate to the “Programs” or “Programs and Features” section.
3. Look for McAfee WebAdvisor in the list of installed programs.
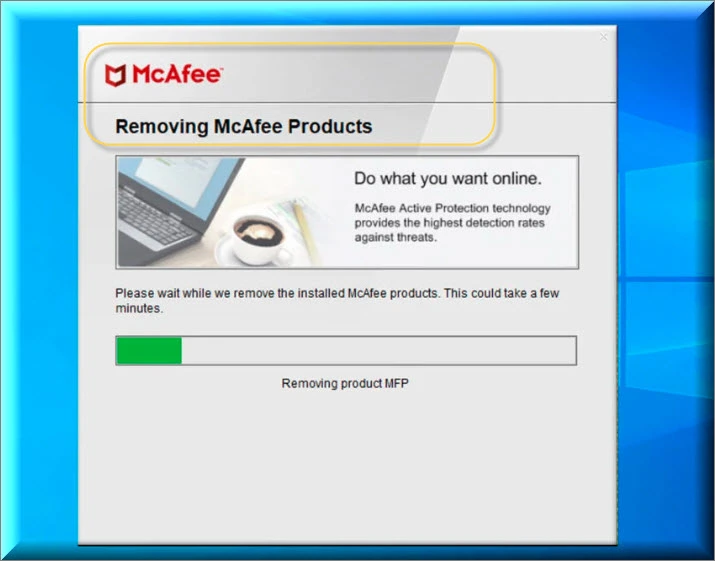
4. Select McAfee WebAdvisor and click on the “Uninstall” or “Remove” button.
5. Follow the on-screen prompts to uninstall McAfee WebAdvisor from your computer.
6. Once the uninstallation process is complete, restart your computer to finalize the removal of McAfee WebAdvisor.
What is McAfee Webadvisor ?
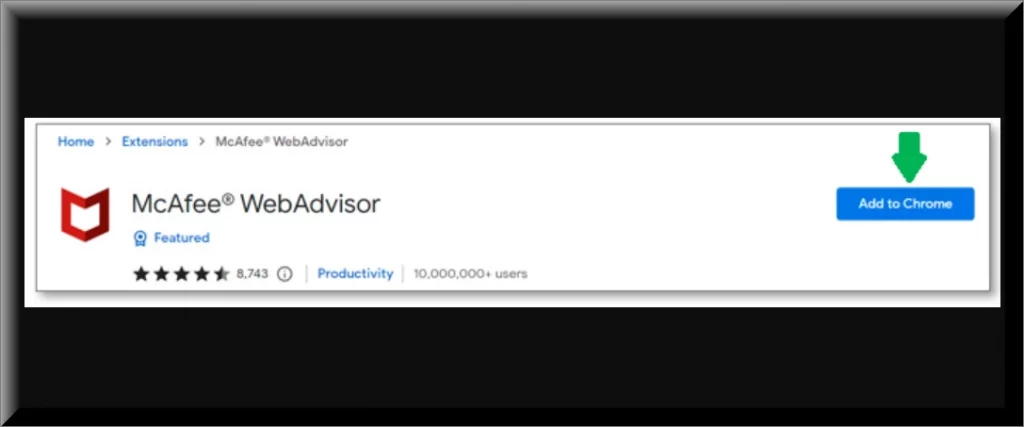
McAfee WebAdvisor is a browser add-on available for popular browsers like Chrome and Firefox. It provides users with warnings and safety ratings for websites, helping to protect against potential threats such as malware and phishing attempts. However, there are instances where rogue software can hijack the WebAdvisor extension, leading to issues on your PC. If you’re experiencing problems with McAfee WebAdvisor, it’s possible that a browser hijacker has taken control of the app. However, if you have the WebAdvisor extension installed but don’t notice any unusual symptoms or disruptions while browsing, it’s likely that you’re not dealing with a hijacker, and there’s no immediate action required. The genuine WebAdvisor app developed by McAfee is legitimate and shouldn’t cause any problems on your system.
How to uninstall McAfee Webadvisor?
If you’re receiving persistent malware warnings on your computer that prompt you to install a security tool, it’s advisable not to trust those warnings and instead uninstall McAfee Webadvisor. These warnings are often false positives designed to deceive users into purchasing unnecessary security tools. If you already have a legitimate security program installed and it doesn’t detect any issues on your computer, it’s best to disregard these random warnings and focus on identifying and removing their source. This source could be a program imitating the McAfee Webadvisor app or another program altogether. In either case, the guide provided below will assist you to uninstall McAfee Webadvisor and completely removing it from your PC.

McAfee WebAdvisor on Chrome
When using McAfee WebAdvisor on Chrome, encountering a warning about “Windows WebAdvisor Viruses found” can have two possibilities. It could be a legitimate warning from the McAfee WebAdvisor on Chrome extension, indicating potential malware on a webpage you are about to visit. In this case, it is advisable to trust the warning and avoid visiting the flagged page unless you are confident it is safe. On the other hand, the warning could be a fake positive triggered by a deceptive rogue app. If you are experiencing other suspicious symptoms on your PC, such as intrusive ads or system slowdowns, it is likely a fake warning. In such cases, it is important to be cautious and not be misled by false alerts.

The McAfee WebAdvisor extension
The McAfee WebAdvisor extension is a legitimate web tool developed by McAfee to enhance browsing safety and privacy. However, it is often mimicked by browser hijackers and other undesirable apps, leading to aggressive pop-ups, fake malware warnings, and other disruptions in the browser. This has caused confusion among users who are unsure whether the McAfee WebAdvisor extension is safe or if it needs to be removed. The genuine WebAdvisor tool is designed to protect your system by alerting you to potential dangers on web pages, allowing you to avoid them. Unfortunately, there are numerous complaints from users who are experiencing intrusive content, such as excessive pop-ups and redirects, indicating the presence of browser hijackers. If you have been experiencing these symptoms, follow the instructions below.
| Name | McAfee WebAdvisor |
| Type | Browser Hijacker/PUP |
| Detection Tool |
Some threats reinstall themselves if you don’t delete their core files. We recommend downloading SpyHunter to remove harmful programs for you. This may save you hours and ensure you don’t harm your system by deleting the wrong files. |
How to remove McAfee Webadvisor
To uninstall McAfee WebAdvisor and secure your PC and browsers, be sure to perform the next steps:
- The first step is to go to the Control Panel > Uninstall a Program and uninstall from there any suspicious programs that may be shown in that list.
- The next step is to check the processes in your system, quit the ones potentially related to the hijacker, and delete their files and folders.
- The third task is to clean the system settings from hijacker-introduced modifications; those include the Startup items list, Task Scheduler, Hosts file, Services, and Registry.
- The final step requires you to clean each browser on your PC from rogue extensions and also clear the temporary browsing data.
We strongly recommend completing the removal process of McAfee WebAdvisor only after reading the following detailed instructions.
Detailed Mcafee WebAdvisor Uninstall Instructions
Step 1
Quit the Internet connection of your PC to prevent the McAfee WebAdvisor hijacker from interrupting you during the removal process. To have access to this page, we recommend opening it on your phone or on another device that’s connected to the Internet.
Step 2
WARNING! READ CAREFULLY BEFORE PROCEEDING!
From the Start Menu, go to the Control Panel of your PC, then select the Uninstall a Program section, and search for any program that may be linked to the hijacker. To make the search easier, sort the entries in the list by installation date so that the most recently installed ones would be grouped together.

If a potentially rogue/unwanted program is found, right-click it, select Uninstall, and follow the prompts (if there are any prompts) to complete the installation. If there’s an uninstallation wizard, pick the removal settings that would ensure the full deletion of everything linked to that program.
In case you are unable to perform the McAfee WebAdvisor uninstallation at the moment, try once again after the completion of the other steps.
Step 3
Press Ctrl + Shift + Esc and then click Processes in the Task Manager window that appears. Look for anything named McAfee WebAdvisor or anything similar and if you come across such an entry, right-click its name, open the File Location of the process, return to the Task Manager, right-click the process again, and End it. After that, go back to the file location folder that you opened and delete it together with all of its files and subfolders.
Also, look for other sketchy-looking processes and for processes that have the same name as the program from the previous step (the one you tried to delete). If you find anything, first search for it online to see if there are reports from security experts confirming that the process is rogue. Also, scan the files that are stored in the location folder of the process using the free scanner provided below – this will let you figure out if the suspected process (processes) is truly unwanted/rogue.


If another rogue process or processes are found in the Task Manager, end them as well and also delete their folders.

Step 4
Now it’s time to put your PC in Safe Mode by following the instructions from the linked page. The reason your PC should be in Safe Mode for the next step is to prevent the hijacker from launching its processes again (in Safe Mode, only essential system processes are allowed to start automatically).
Step 5
In this step, you will have to visit several types of system settings, check them for changes caused by the hijacker, and revoke those changes. To do this, use the search bar in the Start Menu to find the items listed below, open then, and then perform the respective instructions provided for each of those items:
Msconfig – In the System Configuration window, go to Startup and click on Open Task Manager (if you are using Windows 7, you don’t need to click on anything). When you see the startup items listed on your screen, remove the ticks from the checkboxes of the ones you don’t trust or recognize, and then select OK.

Task Scheduler – Once the Task Scheduler opens, select the top-most folder (Task Scheduler Library) from the upper-left corner, then look at the tasks, and delete anything that seems potentially linked to the McAfee WebAdvisor hijacker.

Services.msc – In the Services window, search for entries named McAfee WebAdvisor or anything similar and if you find any, right-click them, go to their Properties, and there change their Startup types to Disabled.


notepad %windir%/system32/Drivers/etc/host – After the Hosts notepad file opens, scroll down towards the end of its text, check if there are any lines written underneath the two “Localhost” lines, and if there are, copy-paste them in the comments section below this post. Someone from our team will soon let you know if the lines you’ve sent us are related to the hijacker, in which case you’d need to delete them from the file.

Regedit.exe – When Windows asks you for your Admin permission, click Yes to provide your confirmation, and then, when the Registry Editor shows up, click the Edit menu and select Find. In the Find window, type WebAdvisor, click the Find Next button, and if the search finds a related item, delete that item and perform another search for McAfee WebAdvisor. In this way, you must ensure that all Registry items related to McAfee WebAdvisor get deleted, after which you must navigate to these next three Registry locations by using the left panel of the Registry Editor.

- HKEY_CURRENT_USER/Software/Random Directory
- HKEY_CURRENT_USER/Software/Microsoft/Windows/CurrentVersion/Run
- HKEY_CURRENT_USER/Software/Microsoft/Internet Explorer/Main
Next, look in all three of those locations for any items that seem out of place – for instance, once that have suspiciously-long names and/or names that seem to have been randomly generated (something like this “e903j2td90f4gh98ur309djfht20r3e” for instance). Let us know in the comments should you come across such items, but don’t delete them unless we confirm that they need to be removed from the Registry.
Step 6
Finally, it is time to clean your browsers – start by opening your main browser, selecting its menu (should be in the top-right or top-left corner), and opening the Extensions/Add-ons section. In Chrome and some other Chromium-based browsers, you must first select the More Tools sub-menu to see the Extensions button.
Once you are at the Extensions section, your job is to Disable and then Uninstall the rogue McAfee WebAdvisor hijacker extension as well as any other browser extensions that seem undesirable or untrusted.

After you are done with this, you must select the browser menu again, go to Settings, and there select the Privacy and Security section. If you don’t see a button to open Privacy and Security, first click on Advanced, and it should appear.
In Privacy and Security, search for a button labeled Clear Data/Choose what to clear, and click it.

Next, select the Advanced tab in the newly-opened window (if there is such a tab), put ticks in all boxes except the one in front of Passwords, and click Delete/Clear.

Lastly, remember to perform this step for all other browsers on your computer.
If the problems with the WebAdvisor hijacker persist
If you are still struggling with the undesirable WebAdvisor browser hijacker/PUP, our recommendation is to try deleting it with the advanced removal program linked on the current page. Sometimes, unwanted software such as hijackers is able to infiltrate a system too deeply, making it very difficult to remove them manually. However, with the help of the aforementioned tool, deleting this hijacker should only take you several minutes. Furthermore, the program will also keep your PC safe in the future from similar unwanted apps as well as from more problematic threats, the likes of Spyware, Rootkits, Ransomware, and Trojans.
Uihost.exe is an executable file belonging to the McAfee WebAdvisor user level process all a part of the McAfee WebAdvisor Software or WebAdvisor by Mcafee. The Uihost.exe is usually located in C:/ Program Files/ McAfee / WebAdvisor/ UIHost .exe.
To Uninstall McAfee Webadvisor (Webadvisor by McAfee:
1. Go to the Control Panel and select Uninstall a Program
2. Uninstall any suspicious programs which you find there.
3. Next, check the processes in your system, and quit and delete the ones potentially related to the hijacker.
4. Now go and clean your system’s settings by checking your Startup items list, Task Scheduler, Hosts file, Services, and Registry.

Leave a Reply