GxuApp by Niqro Vat Inc (a fake publisher) is yet another fake windows app that presents itself as legitimate, in the vein of Bivaapp, Applvl, Alrisit, and at this point many others. In all cases, the uninstaller you will see in the control panel doesn’t work. You will have to remove it manually in its directories.
The app itself is a simple reskin that uses the same directories as the aforementioned programs. In fact, these things are such copy-pasted low-effort ‘products’ that you can frequently see their EULA has the wrong name in its entirety.
Most blogs and AV companies categorize GxuApp as a PUP or a Trojan. We are among the latter because GxuApp not only slows down your PC, but can and will introduce other malware into your PC without your consent.
SUMMARY:
GxuApp Removal Tutorial
The GxuApp removal instructions we are providing here are not copy pastes. They have real directories which we checked and other tidbits gathered from feedback by real infected users. We are giving you everything we can, but it’s important to note that if you see something that isn’t quite the same as the instructions, you need to think on your feet and look around. These things sometimes change. We can’t track the changes all the time.
The GxuApp uninstaller doesn’t really remove anything, but it’s in your control panel, so let’s start by removing the folder directory and then entry in the app list when Windows says it’s broken. Try this for quick instructions:
- If you want, try the uninstaller in the control panel first. I personally haven’t seen it work and that’s by creator design.
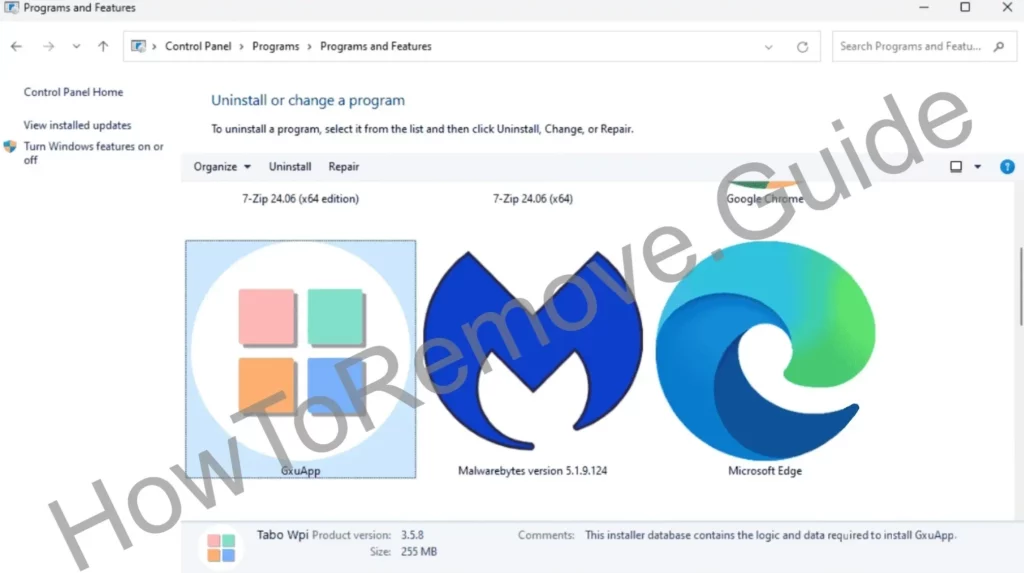
- Then Navigate to C:\User\UserName\AppData\Roaming\Tabo Wpi\GxuApp. Delete the entire folder by right clicking with admin privileges. If nothing prevents you from doing this, great. If you can’t proceed with the guide below then come back and do this as a last step.
- Go in the control panel, and click uninstall again on GxuApp. This should remove it from the list.
Restart your PC. See if the problem is solved. If not, or if you found something else in your system that shouldn’t be there, proceed with the steps below.
Before You Begin: Things to Keep in Mind
There are faster (and easier) solutions to the guide below. You have the choice to remove GxuApp automatically with an anti-malware program. We offer SpyHunter 5 because we tested it works. You can download it here.
How to Get Rid of GxuApp
Ok, if you are going the manual route, you need to do 2 things first.
Open the windows start menu, type Folder Options, open it > View. From there check “Show hidden files and folders” > Apply >OK.

Download LockHunter – yes I know we said this is a manual removal, but this is a free program and you can’t perform the steps without it. Without it you can’t delete the important files and folders GxuApp locked.
Download an install Lockhunter, then proceed with the next part.
Remove GxuApp App Processes From the Task Manager
GxuApp enjoys being in the background processes, which you’ve probably noticed slows down your PC. This is also what makes the removal more difficult. To successfully clean your PC you need to stop these processes, but they immediately start running after a second. To remedy the situation do the following:
Open the Windows Task Manager > Details on the left.
Look at the processes and sort them by most CPU usage. Look for GxuApp and other unfamiliar names, open their directory by right clicking > open location. Even if it’s not “GxuApp” by name, there will be something that prevents you from shutting down this thing.
When you find it, open its directory and delete the entire folder. If it won’t delete use LockHunter’s “What’s locking this folder?” option. This will give you the option to unlock and delete the file.

Once deleted, end the process in Task Manager by selecting it and then clicking on End Task.
Repeat for any other suspicious processes. The malware might be using more than one.
We tested that SpyHunter successfully removes GxuApp* and we recommend using it. It will block GxuApp from reinstalling itself and it will make sure your device is clean from any malware.
Buy now15% OFF if you buy straight without trial.
These are all the processes we know GxuApp currently creates, but again, this can change:
“C:\Windows\system32\msiexec.exe” /I “C:\Users\\Desktop\install.msi” /qb ACCEPTEULA=1 LicenseAccepted=1
C:\Windows\system32\msiexec.exe /V
C:\Windows\system32\services.exe
C:\Windows\syswow64\MsiExec.exe -Embedding 8E85D36FA5E4D31F862E9A6686ACF601
“C:\Windows\System32\msiexec.exe” /i “C:\Users\user\Desktop\app__v6.22.3_.msi”
“C:\Windows\System32\msiexec.exe” /i “C:\Users\user\Desktop\installer.msi”
C:\Windows\SysWOW64\msiexec.exe C:\Windows\syswow64\MsiExec.exe -Embedding 68F5F8872EC64CA35CC21C36819CF49F
C:\Windows\SysWOW64\msiexec.exe C:\Windows\syswow64\MsiExec.exe -Embedding BF8CE6F92EE6B72DA6C32C9129A06C22
C:\Windows\System32\msiexec.exe C:\Windows\system32\msiexec.exe /V
How to Delete GxuApp Virus Files
When you are done with the Task Manager (hopefully successfully) it’s time to hunt down GxuApp’s files. Use LockHunter if needed any time you can’t delete something.
Go to these directories and delete everything in them:
- C:\ProgramData\Microsoft\Windows\Start Menu\Programs\Startup. Leave desktop.ini in there and don’t delete it if such a file is present.
- C:\Users\YourUsername\AppData\Roaming\Microsoft\Windows\Start Menu\Programs\Startup.
Go back to C and check out your programs; arrange them by date and look if something ne shouldn’t be there. Delete it if there is such a thing. If you’re worried you’ll delete something normal, back it up/copy it in another folder so you can restore it later.
Now go to these two locations and delete the respective GxuApp folder stored there:
- C:\Users\<USER>\AppData\Roaming\Tabo Wpi\GxuApp\ (remember this one?)
- C:\Users\YourUsername\AppData\Local\Temp – delete everything in here.
Get Rid of GxuApp Tasks in the Task Scheduler
Open the Task Scheduler from the Start Menu (just search for it there).
Look through the tasks listed in the Task Scheduler Library (top-left). Double click anything suspicious and look up its Actions tab.

Delete anything that points to AppData or Roaming. Jot down the locations, though, so you can go and delete the files.
Leave a Reply